Adding Customers to a Sale in Vend for Mac or PC
To record a customer on a sale, follow the steps below:
1. In the right-hand search box, type the customer's name, phone number, email, company or customer code.
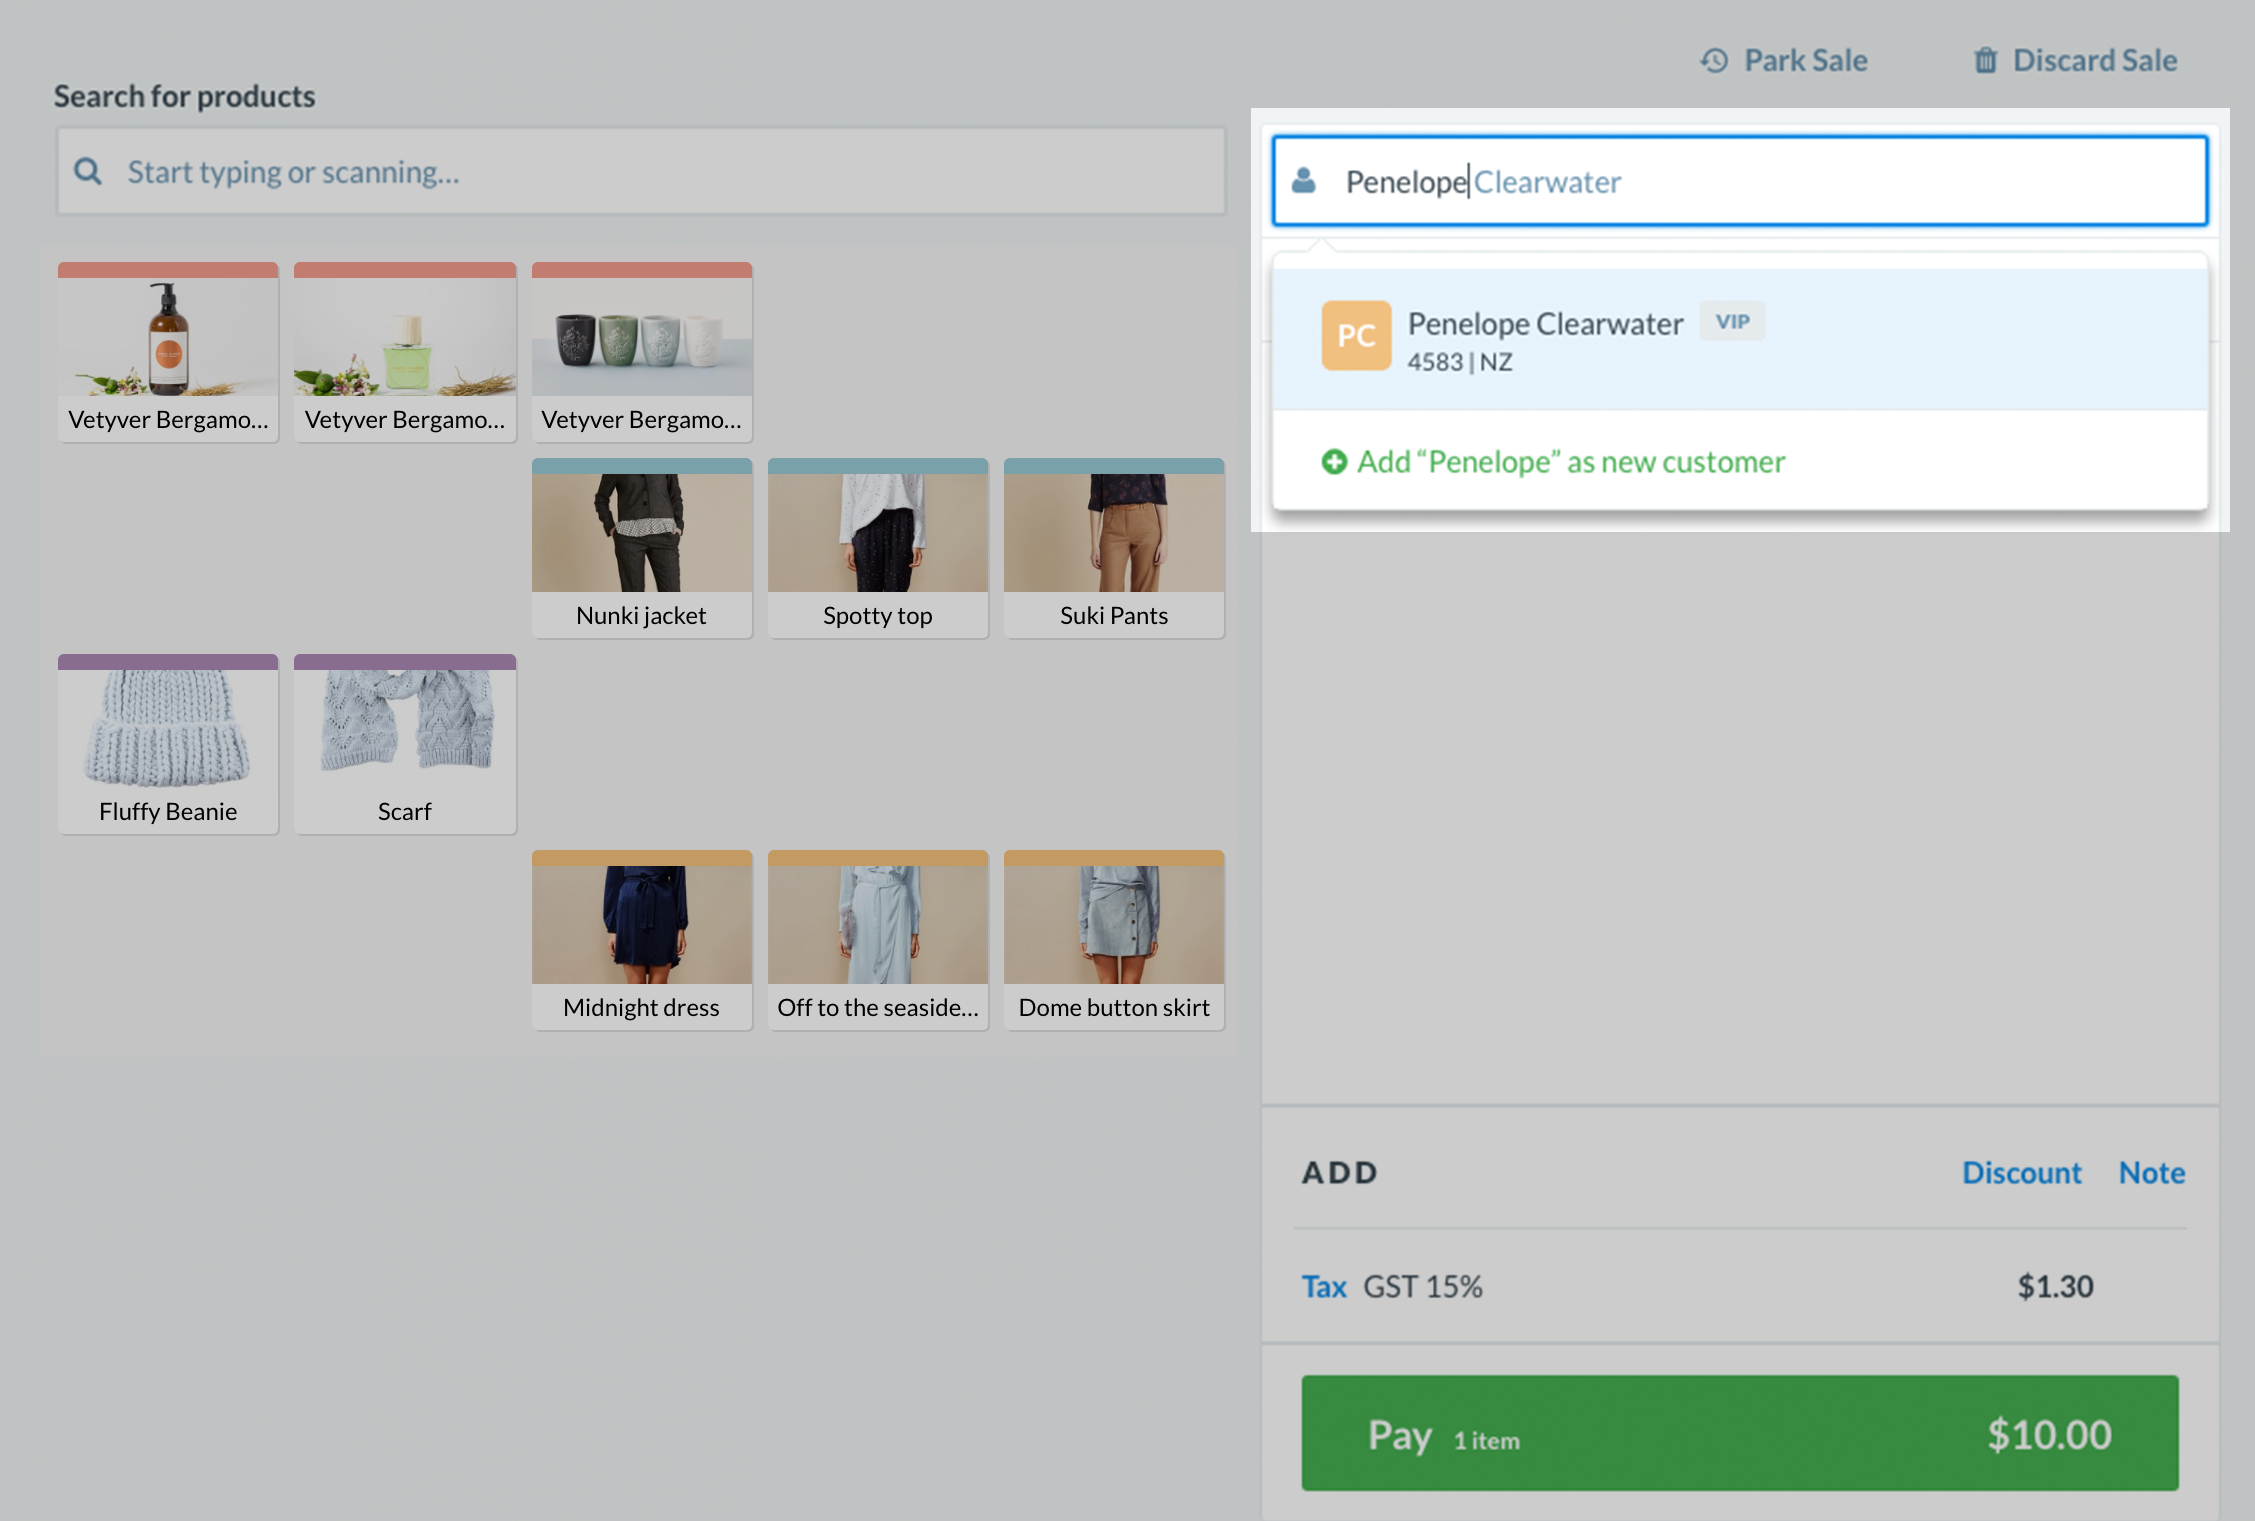
2. A drop-down will show matching customer names. You can keep typing more letters until the results are filtered enough to find your customer.
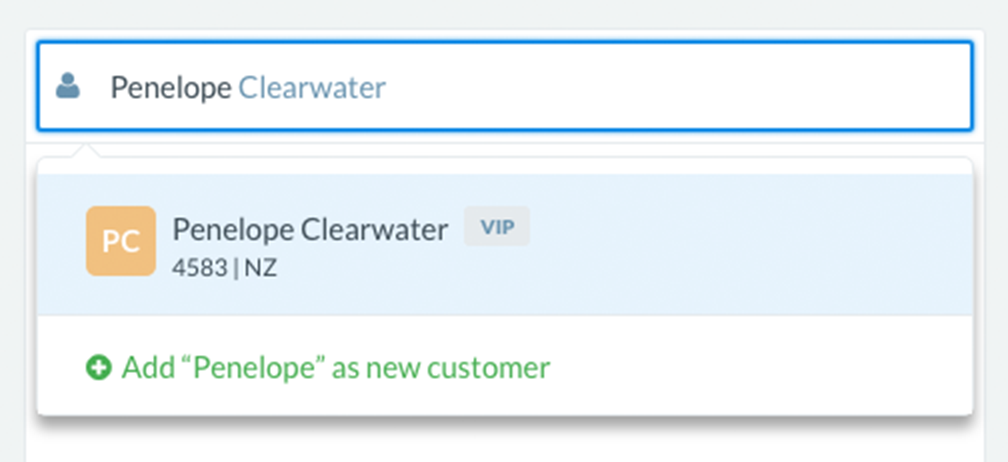
3. If your customer is not found, you can add the customer without leaving the sale screen. Just hit 'Add as new customer', and Vend will open a window for you so you can add the customer.
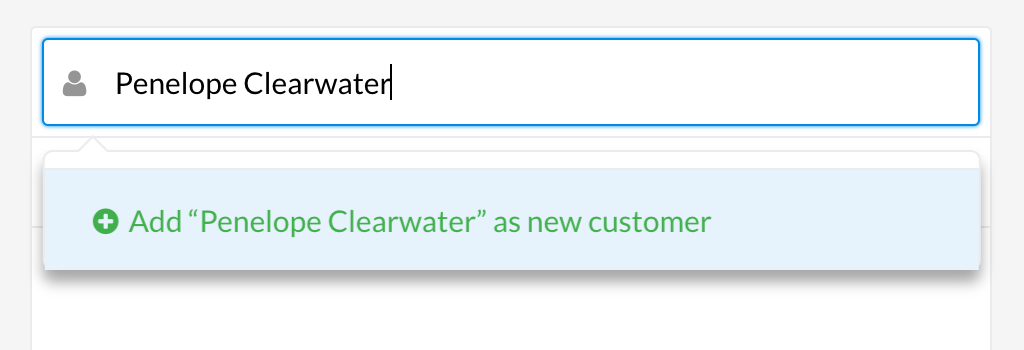
You can add:
- First and last name
- Company
- Phone number
- Customer group, if your store admin has set one up
- Turn loyalty on or off
You can also click the 'Show more fields' button to add a range of more specific details, including:
- Postal Address
- Customer Code
- Gender
- Website
- Custom Fields
- Date of Birth
Once you've added the customer's details, click 'create new customer'. The customer will now be added to the sale and your database for future reference.
To learn more about adding additional details to your customer or editing and existing customer's details, check out the instructions below.
Add more detailed information to your customer:
You can also add a range of more specific customer details from this screen in addition to basic customer info mentioned above. To do this, click 'Show more field'.
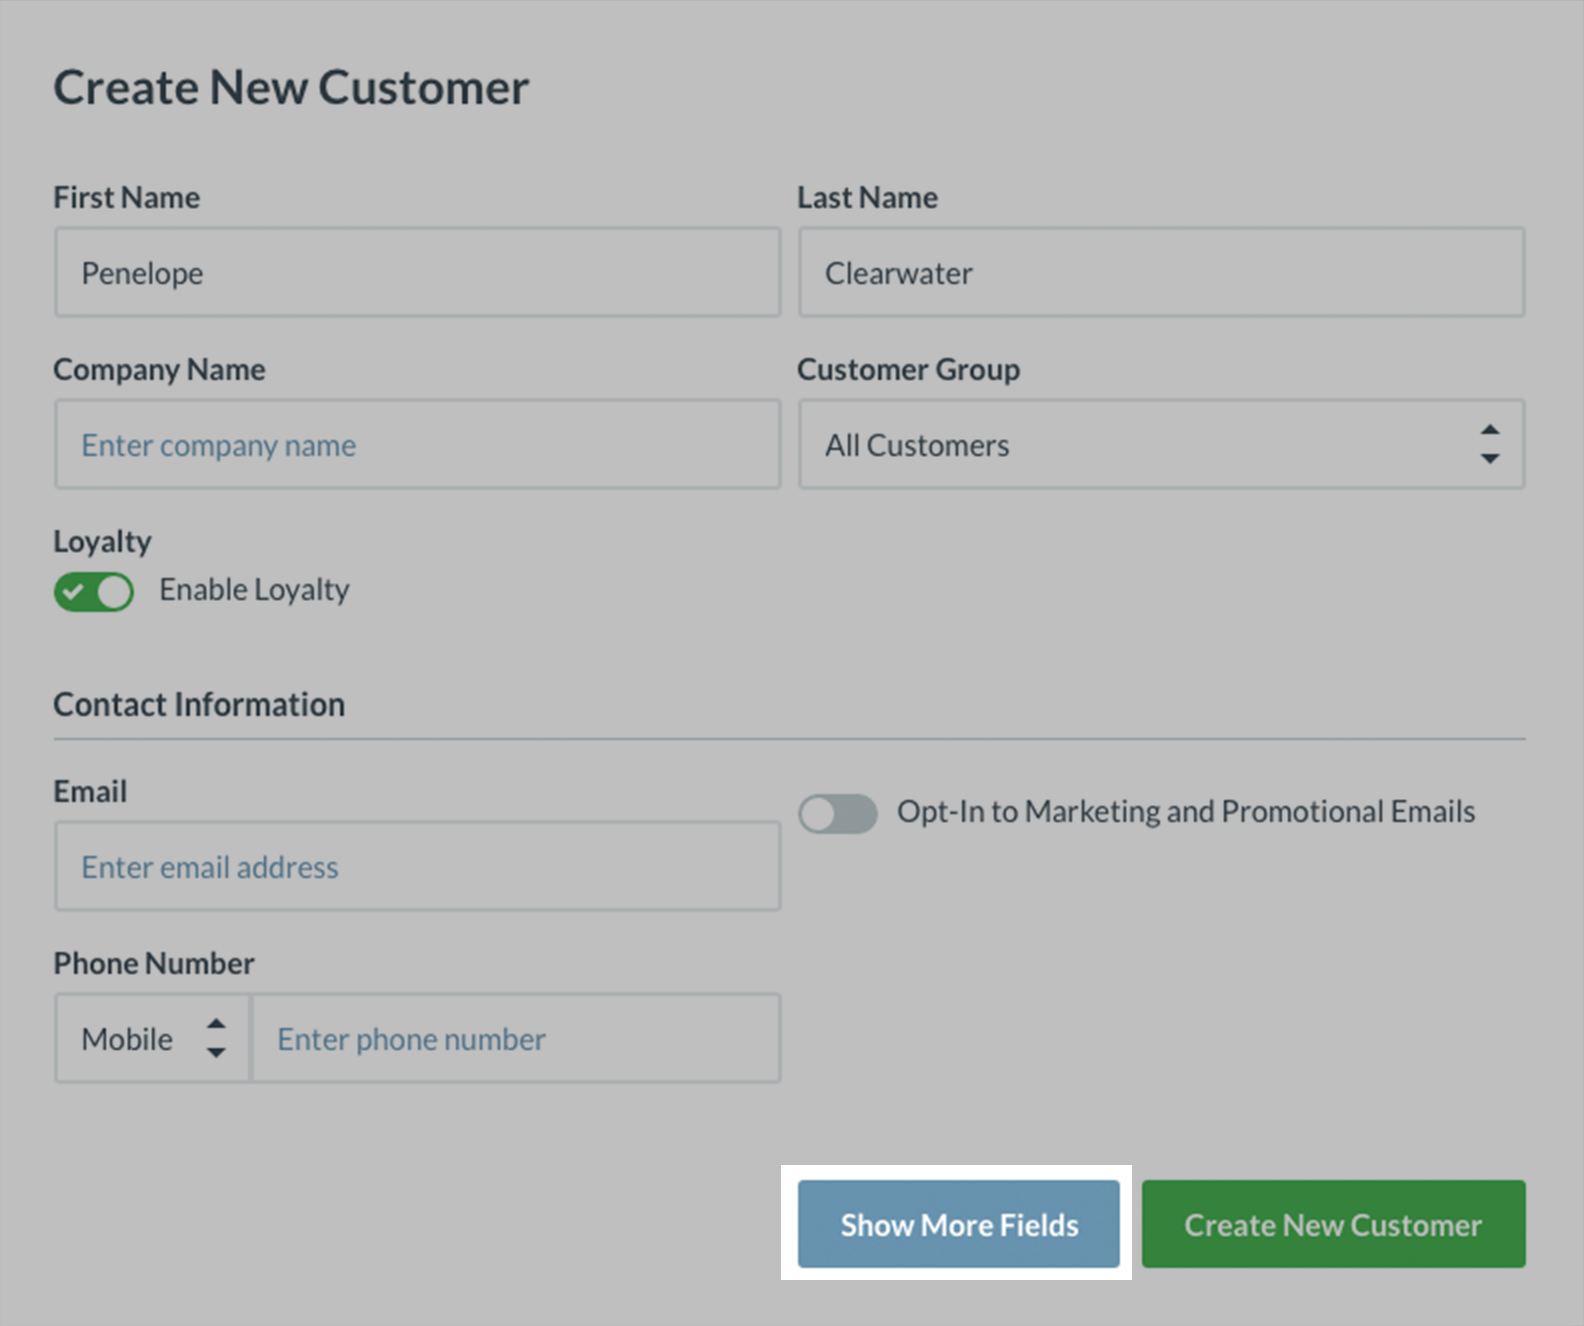
Clicking on this will take you to a new screen where you can tick to add a range of new fields including:
- Postal Address
- Customer Code
- Gender
- Website
- Custom Fields
- Date of Birth
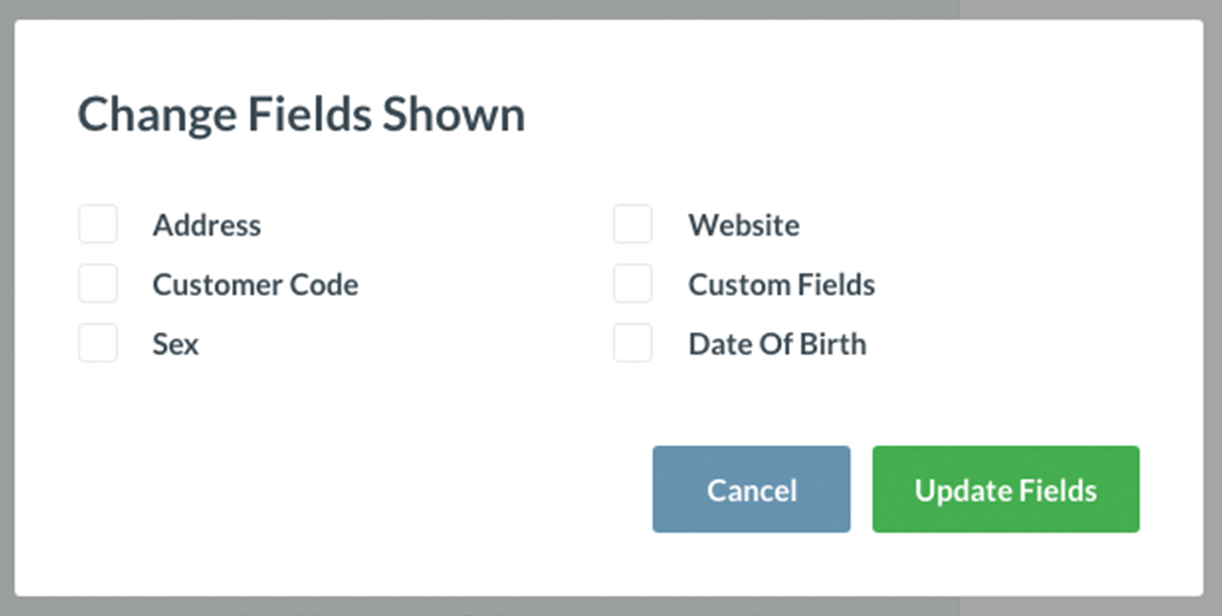
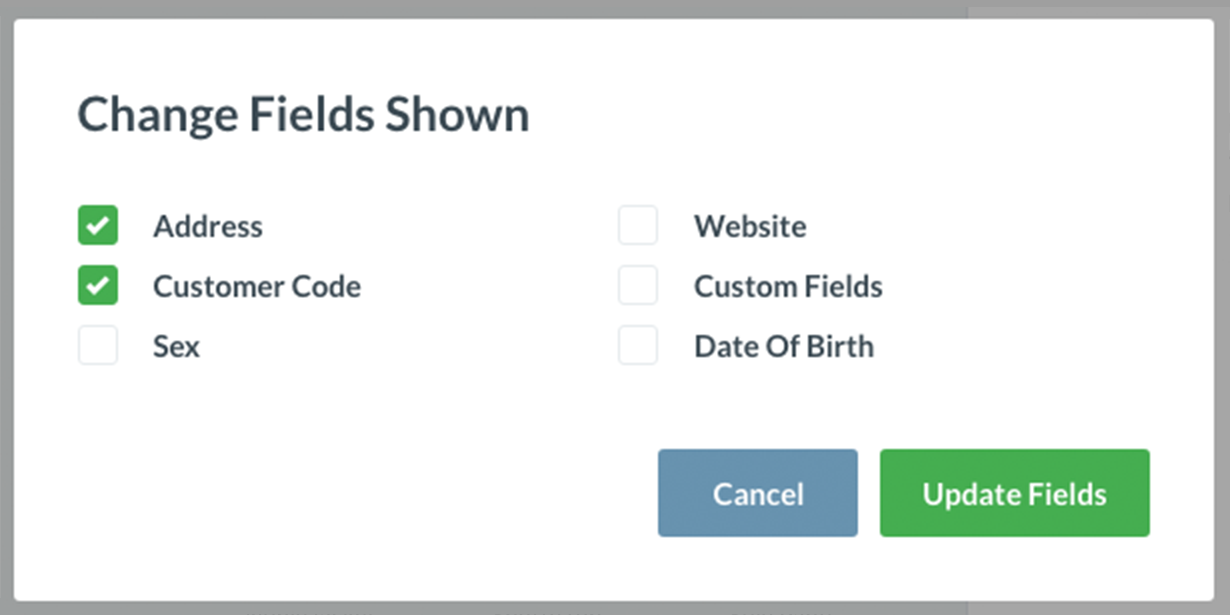
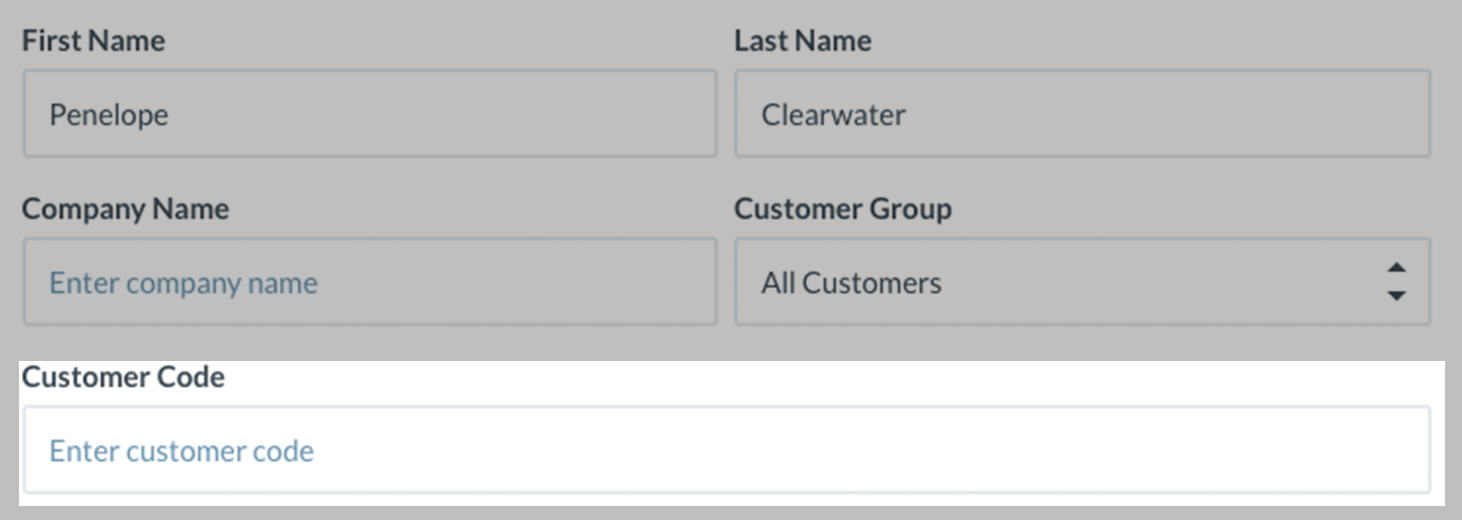
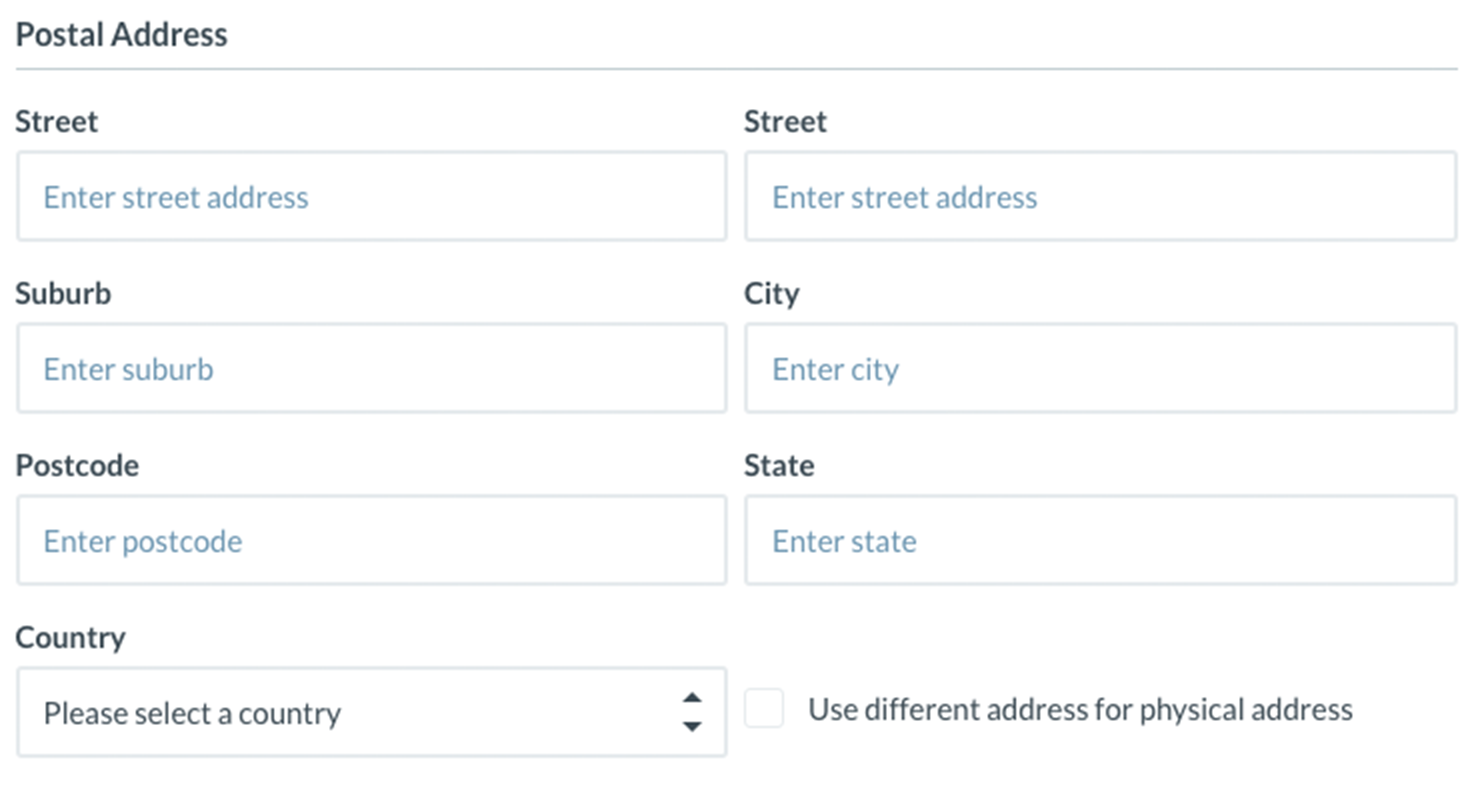
When you are happy with the fields you've added, click 'Update fields'. In this case, we've opted to add the customer code and postal address fields. On the next screen you'll see the fields you've selected appear:
Fill these out and click the 'Create new customer' button below.

View and edit existing customer details from the sell screen:
If you'd like to view or edit the information you have on a particular customer, add them to the sale and click on their name.

This will open up the customer details window, displaying all current information you have attached to this customer.
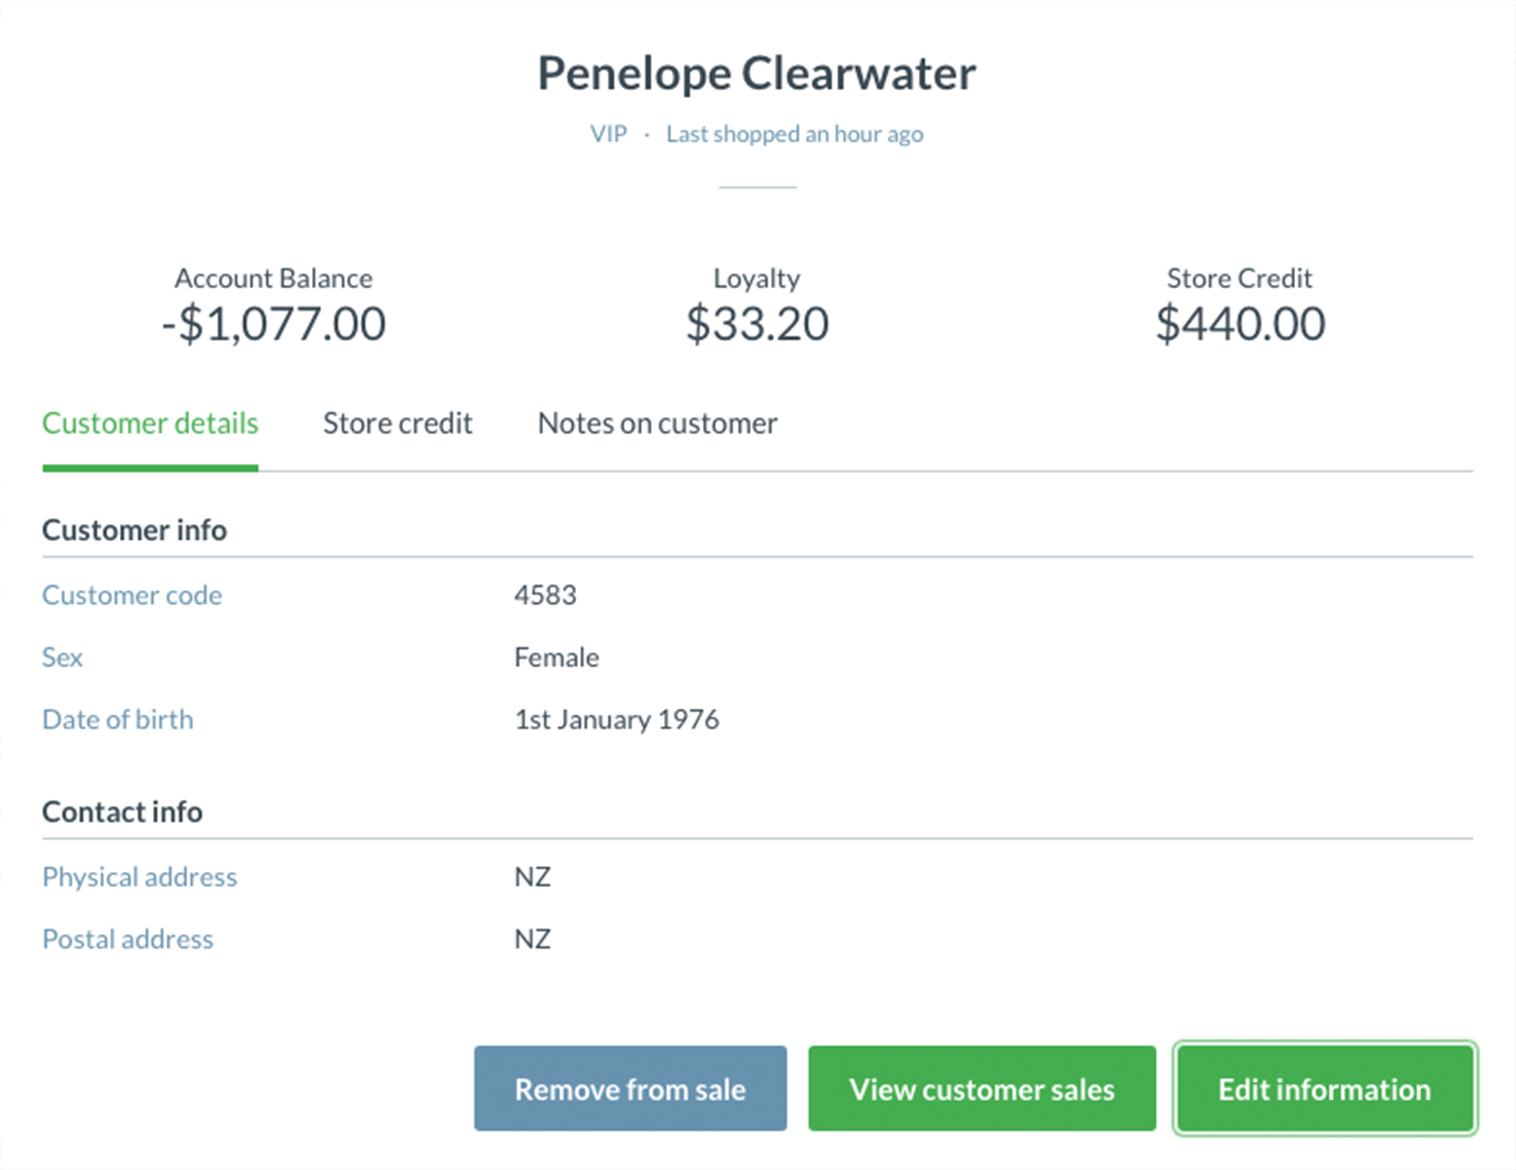
Tip: If you applied a note to this customer when setting them up, you could view these by clicking the 'Notes on customer' tab on the customer details window.
To edit or add any further information click on the 'Edit Information' button below:
Related Articles
Setting up Store Promotions in Vend for PC and Mac
To add and edit your promotions: 1. Navigate to Products -> Promotions. Here will be a page listing all current promotions. If you already have a promotion setup, you can click on this promotion in the list below to expand and edit it. 2. To add new ...Setting up your Quick Keys for Mac and PC
Important: If you are using the Vend sell screen on Mac or PC, make sure you setup your Quick Keys using the following guide. Creating your Quick Keys layout Adding products to your Quick Keys Layout Managing existing Quick Keys layouts Enabling and ...Sales History for Vend on Mac or PC
What is the Sales History? How is the Sales History different from the Sales Ledger? Finding your way around the Sales History Sales History tabs Filters List of sales Viewing sale details Returning a Sale Retrieving and Continuing Sales Retrieving a ...How to use the Customers Page in Vend
Vend's customer page allows you to create and manage customers and track your customers activity in your store. From this screen you can import and add customers, search for specific customers and groups, view a list of the customers in your store ...Adding and Removing Registers
If you want to use Vend on an additional device, you'll need to add a new register. To do this, navigate to the Setup tab and click on Outlets and Registers. Once here, click on the Add a register button within an existing outlet or create a new ...