Sales History for Vend on Mac or PC
- What is the Sales History?
- How is the Sales History different from the Sales Ledger?
- Finding your way around the Sales History
- Viewing sale details
- Returning a Sale
- Retrieving and Continuing Sales
- Reprinting or resending your customer's receipt
What is the Sales History?
The Sales History is where your store staff can perform point of sale functions, such as sales retrieval and sales returns.
Your store staff can use the Sales History to view sale details, return completed sales, reprint and email receipts or retrieve and continue On Account, Layby and Parked Sales.
How is the Sales History different from the Sales Ledger?
The Sales History is a screen in Vend that allows you and your store staff to quickly retrieve and return sales as well as reprint and email sale receipts. Unlike the Sales Ledger, the Sales History does not allow you to conduct administrative functions such as editing or voiding sales.
Finding your way around the Sales History:
The Sales History is made up of three main sections; the tabs, the search filters and the list of sales. For more information on these three sections read on below:
Sales History Tabs:
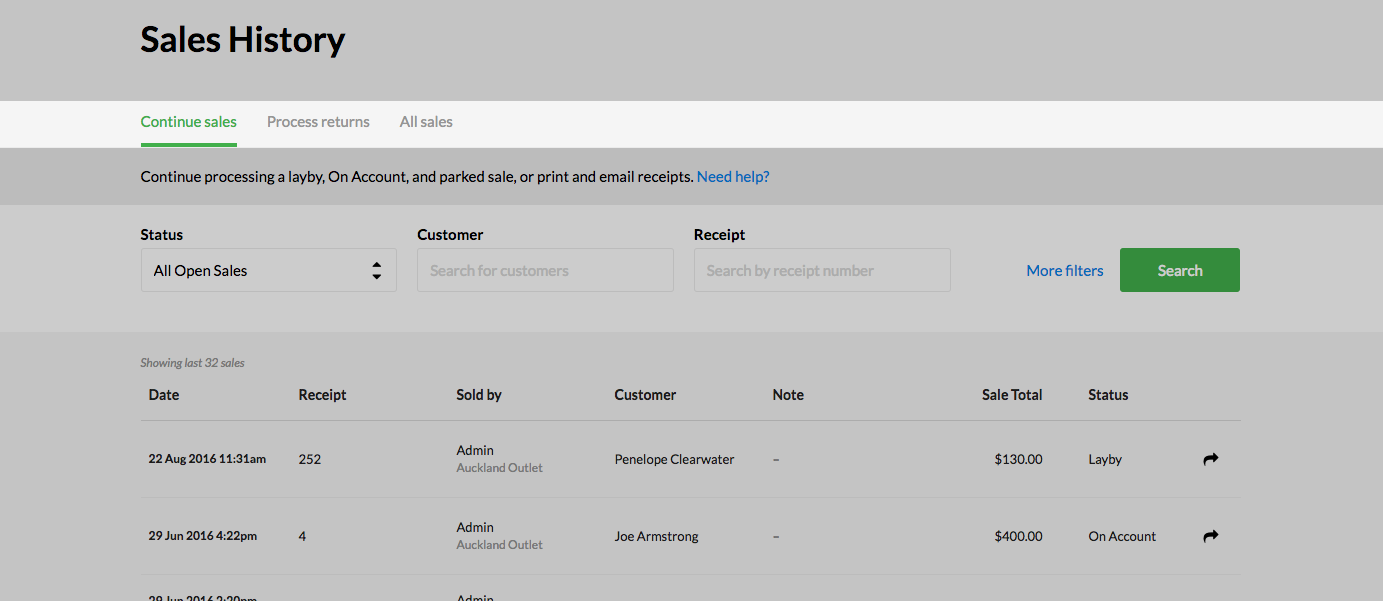
Along the top of the Sales History page, you will see three tabs; Continue Sales, Process returns and All sales. These three tabs provide you with quick access to continuing sales (such as laybys, on account sales and parked sales), process returns or view all the sales you have made to date.
Filters:
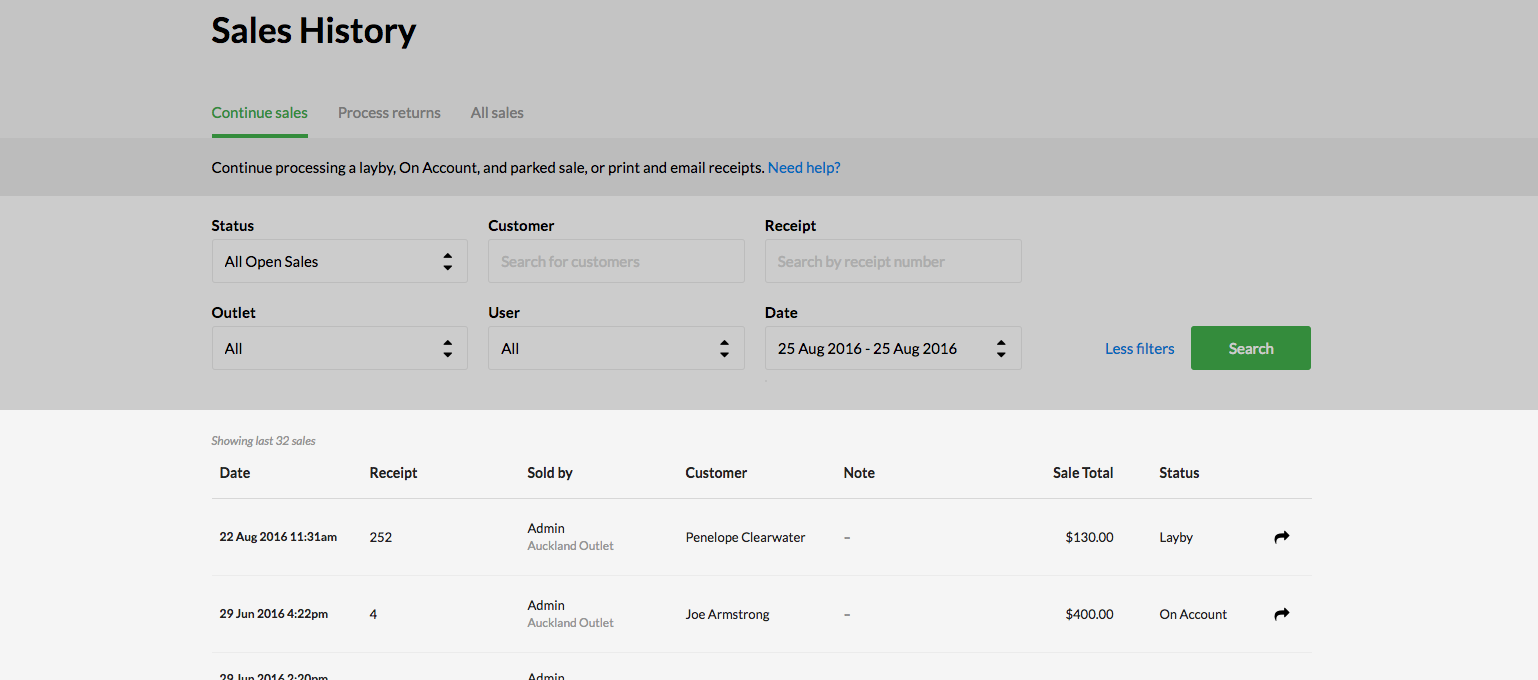
The search filters can prove beneficial in further narrowing your search for a particular transaction in the Sales History. Depending on the number of transactions you have processed in your store, you may want to use the search filters to make finding an entry easier.
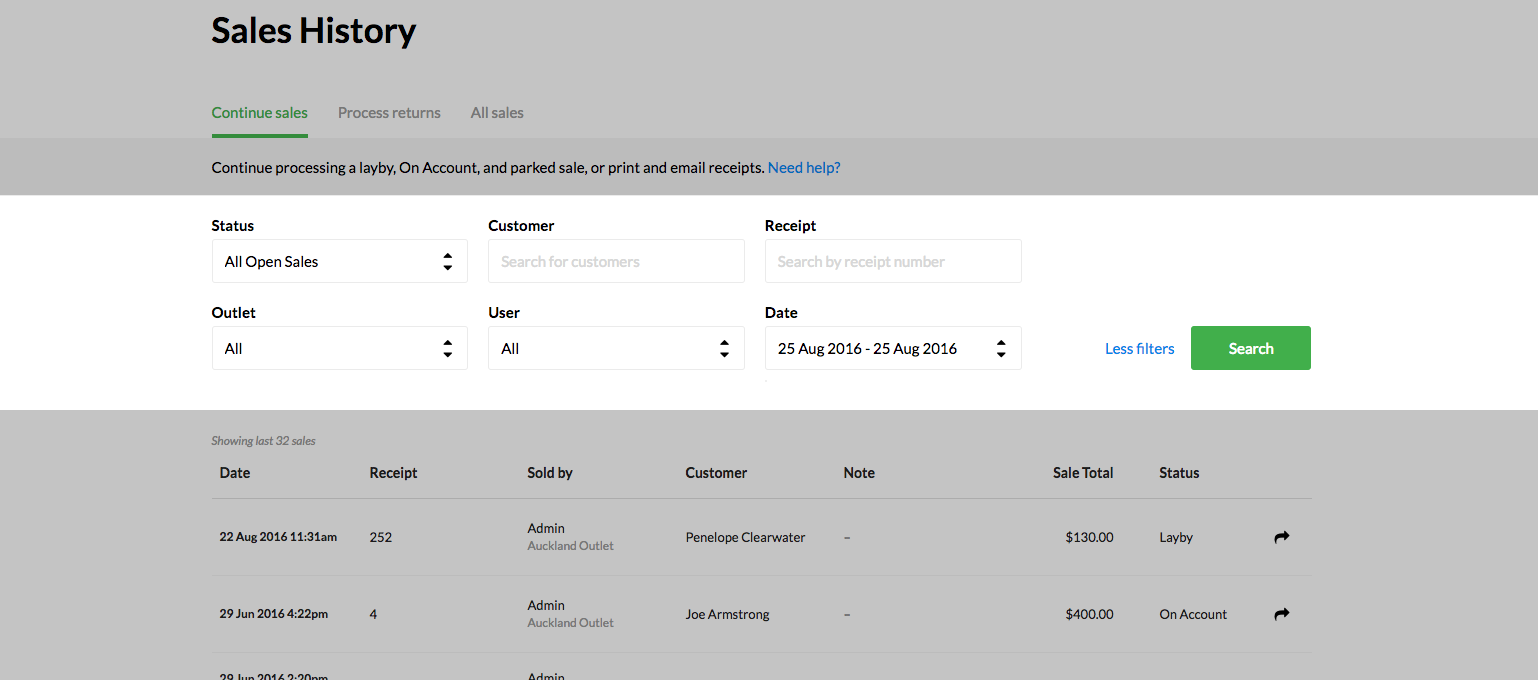
Here, you can filter by a specific date or date range, by sale status, outlet the sale was made on, the receipt number of the sale, the Vend user who processed the sale, or the name of the customer who was attached to the sale.
List of Sales:
Below the filters are the list of sales. Here you will see a list of sales records based on the tab you have selected and the filters you have specified. By default, the list will show the most recent sales transaction first and will show basic information about your sales.
For a more detailed look at the sale, click on the column header.
Clicking on the column header will expand the sale and provide you with a detailed breakdown of the products involved in the sale and the payments that were applied. Expanding the sale will also reveal some sale management options.

From here you can edit the sale, reprint and resend receipts or void the sale if required. For more information on these actions, when to use them, and how the actions impact your sale, check out the section below:
1. Viewing sale details
In Vend, you can see more detailed information about every sale you make.
To find these details head to the Sales History tab and locate the sale you would like to view.
Once located, hover over the sale line and click. This will expand the sale, revealing a line item breakdown of the products and payments involved in this sale as well as options to return or continue the sale, issue a gift receipt and email or print the standard sales receipt.
2. Returning a Sale
Tip: Different retail stores have different rules about what items can be returned. It is useful to check in with your supervisor about this before processing any returns.
Before beginning, it is important to note that you may only complete a return on fully paid sales (including fully paid account and layaway sales) and not on open on account or layaway sales OR existing return transactions.
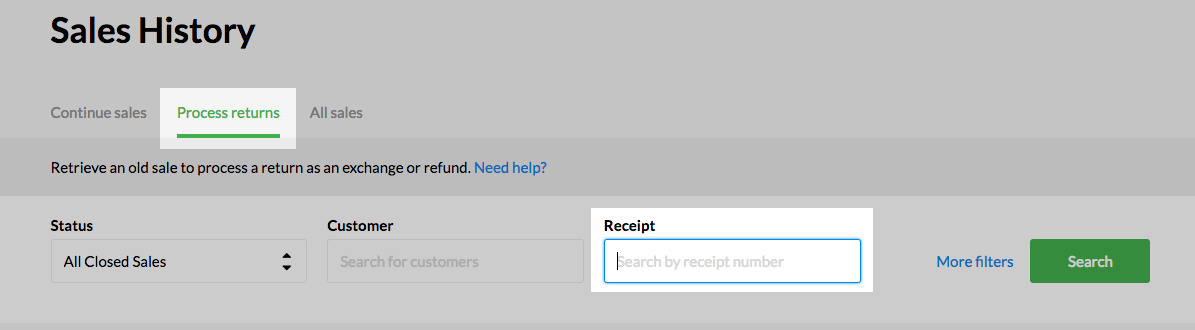
To process a return from the Sales History:
1. Navigate to the Sales History screen in the side menu and find the sale you would like to return.
Tip: Click on the process returns tab then search for the receipt number of the sale.
2. Once the sale is located, click the reverse arrow to begin the return.

Important: If a cashier user is unable to process returns in your store this reverse arrow will be greyed out and unclickable.
For more information on returns, check out this article here.
3. Retrieving and Continuing Sales
Important: You can only retrieve and continue a sale if you are logged into the outlet that the sale was first initiated in. For example, if a sale was parked at the Melbourne outlet you will not be able to continue this sale from the Auckland outlet.
There are three types of sales that you might need to find and continue:
- Parked sales
- Account sales
- Layby Sales
To retrieve a parked sale:
1. Click Sales History from the side menu.
2. In the Sales History screen, choose the Continue Sales tab along the top

3. Next, Select Parked from the Status dropdown and click the search button. This will filter your list of sales by Parked only.
4. Locate your sale from the list of parked sales below and click the continue sale icon.

5. The sale will load to the sell screen where you can continue processing it as normal.
To retrieve an account sale:
Important: You will not be able to remove items from an account sale or cancel an account sale in progress. If you are using the Xero integration, it is also important to not add additional items to an existing sale, as the invoice in Xero will not be updated.
To retrieve an account sale:
1. Click Sales History from the side menu.
2. In the Sales History screen, choose the Continue Sales tab along the top
3. Next, Select On Account from the Status dropdown and click the search button. This will filter your list of sales by On Account only.

4. Locate your sale from the list of On Account sales below and click the continue sale icon.

5. The sale will load, and you can then take payment by clicking the Pay button.
If the customer is not paying the sale off entirely, take the payment and click the On Accountbutton to put the sale back onto account.
Issue the customer with an updated receipt for their sale.
To retrieve a layby (layaway) sale:
1. Click Sales History from the side menu.
2. In the Sales History screen, choose the Continue Sales tab along the top
3. Next, Select Layby from the Status dropdown and click the search button. This will filter your list of sales by layby only.

4. Locate your sale from the list of layby sales below and click the continue sale icon.

5. The sale will load, and you can then take payment by clicking the Pay button.
If the customer is paying off the sale entirely, you will need to give them the items in the layby and a final, updated receipt.
If the customer is not paying off the sale entirely, click the layby button to put the remaining balance back onto layby.
For more information on Layby sales and how they work in Vend, check out this article here.
4. Reprinting or resending your customer's receipt
Depending on your store settings, once the sale is completed, you will be prompted to provide the customer with a receipt. This may be either a printed receipt or an emailed receipt.
Printed receipts
If you need to print a receipt from a historic sale:
1. Open Sales History from the side menu.
2. Select the All Sales tab along the top.

3. Locate the sale to find the receipt you wish to print.
4. Hover over the sale line and click to expand the sale information.
5. Once here, you will see an expanded view of the sale. On the right of this expanded view is a print receipt button. Clicking this button will bring up the print preview screen from where you can print out your receipt.

Gift receipts
You can also print off a gift receipt if your customer is purchasing your products as a gift for someone else. The gift receipt is a simplified version of the standard receipt that does not include any payment or loyalty information.
If you need to print a gift receipt from a historic sale:
1. Open the Sales History tab from the side menu.
2. Select the 'All Sales' tab along the top.
3. Locate the sale to find the receipt you wish to print.
4. Hover over the sale line and click to expand the sale information.
5. Once here, you will see an expanded view of the sale. On the right of this expanded view is a gift receipt button. Clicking this button will bring up the print preview screen from where you can print out your receipt.
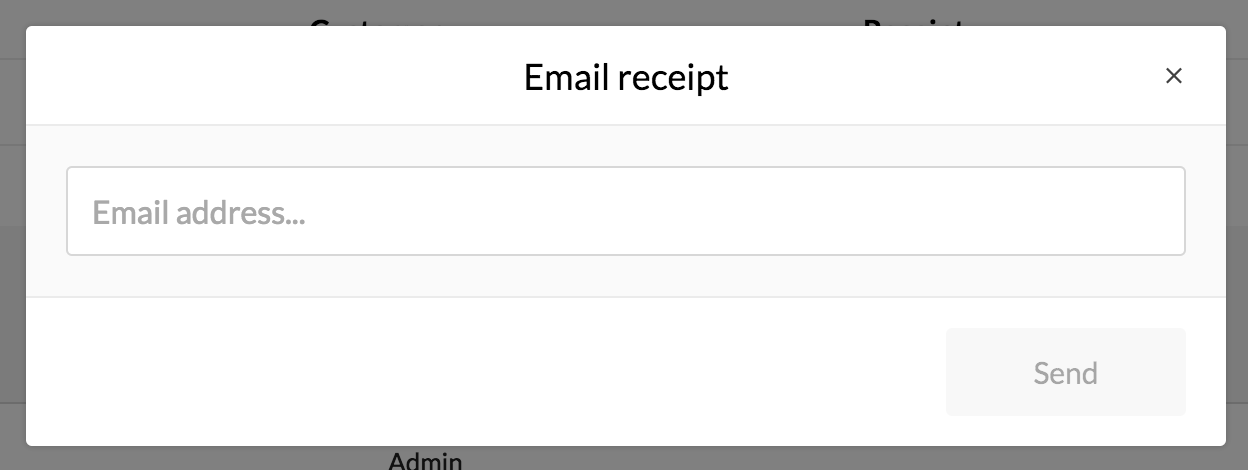
Email receipts
If your store has email receipts enabled, you will be prompted to enter the customer's email address (If you have already added a customer to the sale, and Vend has their email address, this will automatically be filled in.)
Email receipts turned off?
You can still email a receipt to a customer for the Sales History, even if it is turned off by default.
1. Open the Sales History tab from the side menu.
2. Select All Sales along the top.
3. Locate the sale to find the receipt you wish to email.
4. Hover over the sale line and click to expand the sale information.
5. Once here, you will see an expanded view of the sale. On the right of this expanded view is an email receipt button.
6. Click the email receipt button and enter the customer's email in the popup box that appears.
Related Articles
Using the Vend Sales Ledger
What is the Sales Ledger? How is Sales Ledger different from Sales History? States of Sales in the Sales Ledger Finding your way around the Sales ledger Filters List of sales Sales Ledger and Training Mode Best Practices for using the Sales Ledger ...Sales History for iPad
In your sales history on Vend's iPad app, you can view previous sales, load an open sale onto the sell screen, and reprint receipts. To access the Sales History: Tap the menu button on the top left. The sidebar will open. Select 'Sales History'. ...User cannot see sales history in Vend Register
If you come across an issue wherein a particular user cannot see sales history on the iPad application, please complete the following steps as part of troubleshooting Please navigate to Dashboard -> Setup -> Users and untick the outlet that the user ...Setting up your Quick Keys for Mac and PC
Important: If you are using the Vend sell screen on Mac or PC, make sure you setup your Quick Keys using the following guide. Creating your Quick Keys layout Adding products to your Quick Keys Layout Managing existing Quick Keys layouts Enabling and ...Layaway Sales in Vend
What are Layby (Layaway) Sales - A layby is a sale that allows you to take a deposit from a customer for a product, set that product aside, and let the customer pay it off at a later date. Creating Layby (Layaway) Sales - To place a sale on layby: ...