Setting up your Quick Keys for Mac and PC
Important: If you are using the Vend sell screen on Mac or PC, make sure you setup your Quick Keys using the following guide.
Creating your Quick Keys layout:
Creating a new Quick Keys Layout:
If you need to add new Quick Keys or edit your existing Quick Keys Layouts, follow the steps below:
1. In Vend, navigate to Sell -> Settings in the sidebar menu.
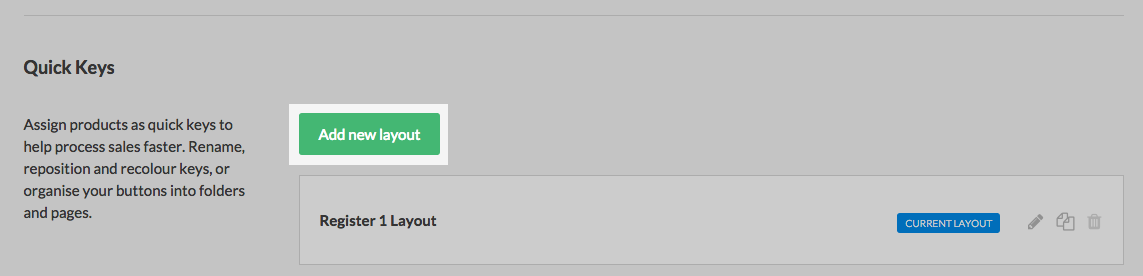
2. Once here, scroll to the Quick Keys section and select 'Add Layout'
3. Give your new Quick Keys layout a name.

4. Choose whether you would like quick key folders to stay open after selecting a quick key from it.

Adding products to your Quick Keys layout:
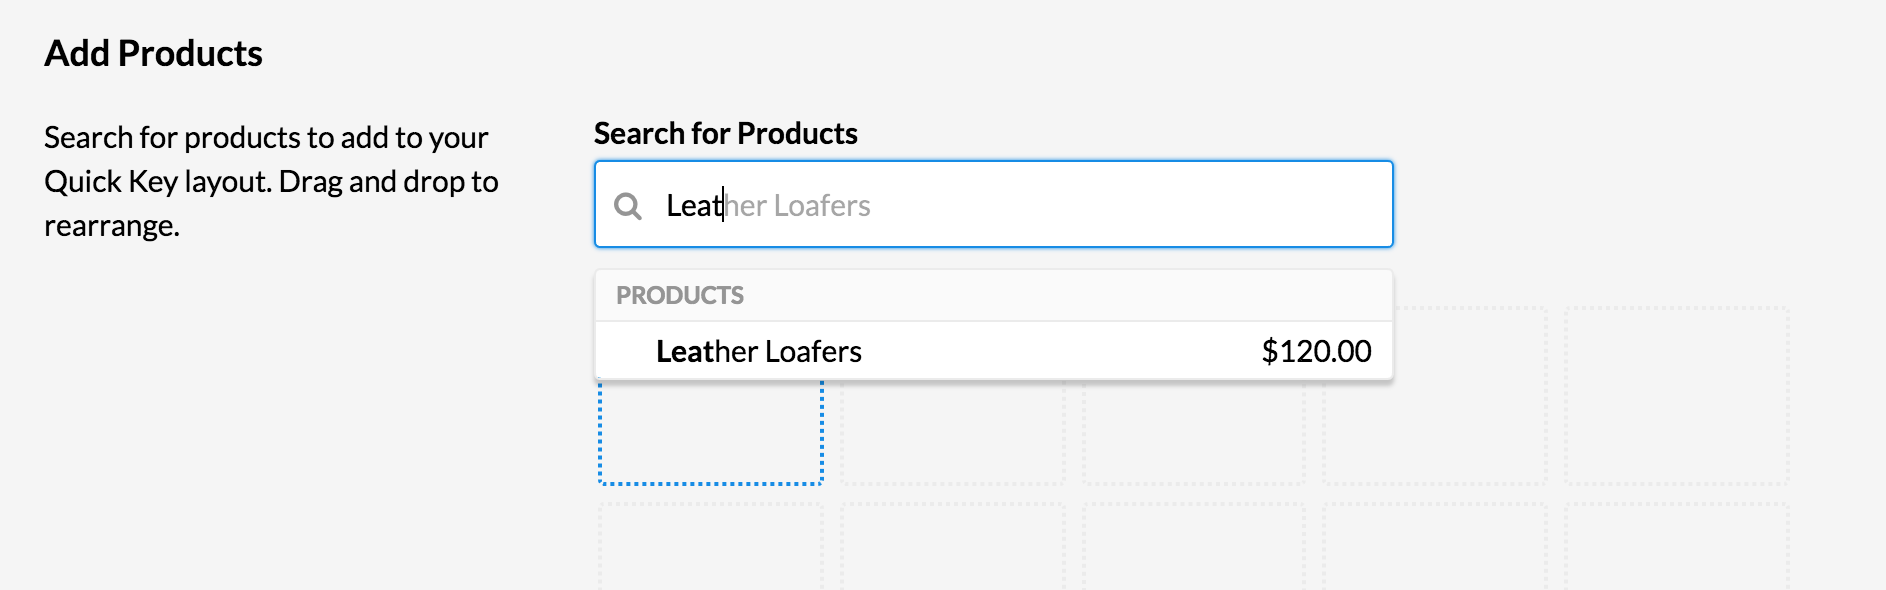
Once you have given your Quick Keys layout a name, navigate to the Add Products section below.
When you are happy with the additions and amendments you've made to the layout, click Save.
Adding a product:
To add a Quick Keys product to your layout you can either search for the product using the search bar or use your barcode scanner to scan a physical product.
Adding a specific variant product:
If you wish to add a vairant product as a Quick Key, you will need to search for the product by SKU code and hit enter on your keyboard.
Specifying a drop zone:
By default, your Quick Keys will be added to the next available space in the layout. If you'd like to specify where the next Quick Key will go, select an empty space in the layout.

If you have already added a Quick Key but wish to change it's position, click and drag the Quick Key to a new blank square.
Creating a Quick Keys folder:
To create a Quick Keys folder, click and drag one product Quick Key onto another.
To add more product Quick Keys to this folder, click and drag them into the folder.
Editing a Quick Key:
When you are editing your Quick Keys layout you can select a single Quick Key to edit its details. On this screen you can edit the label name of the Quick Key, enable an image and change its colour.
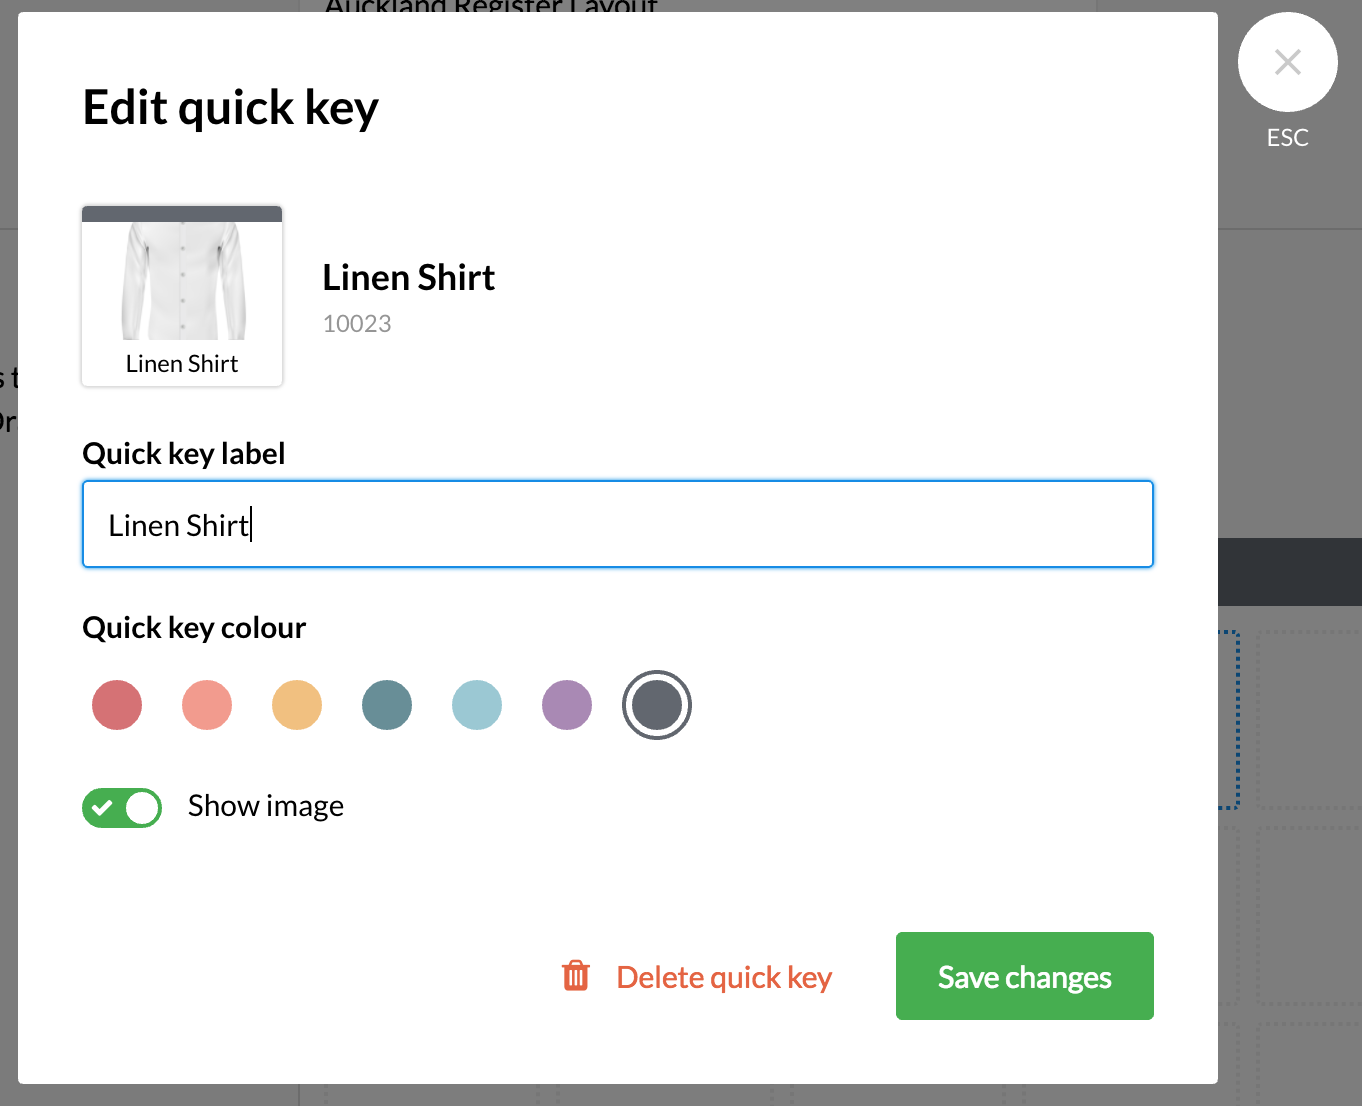
Tip: You can also click on a folder to edit it's name and colour.
Show a product image on a Quick Key:
To enable or disable product photos on your quick keys, choose the quick key you would like to edit and click on the 'Show Image' toggle.
Tip: If you haven't added an image to the product yet you can do this by heading to your products list. Once here, locating the product you'd like to change and click on the pen icon next to the toggle:
This will take you to the edit product page where you can drag and drop image files onto your product.

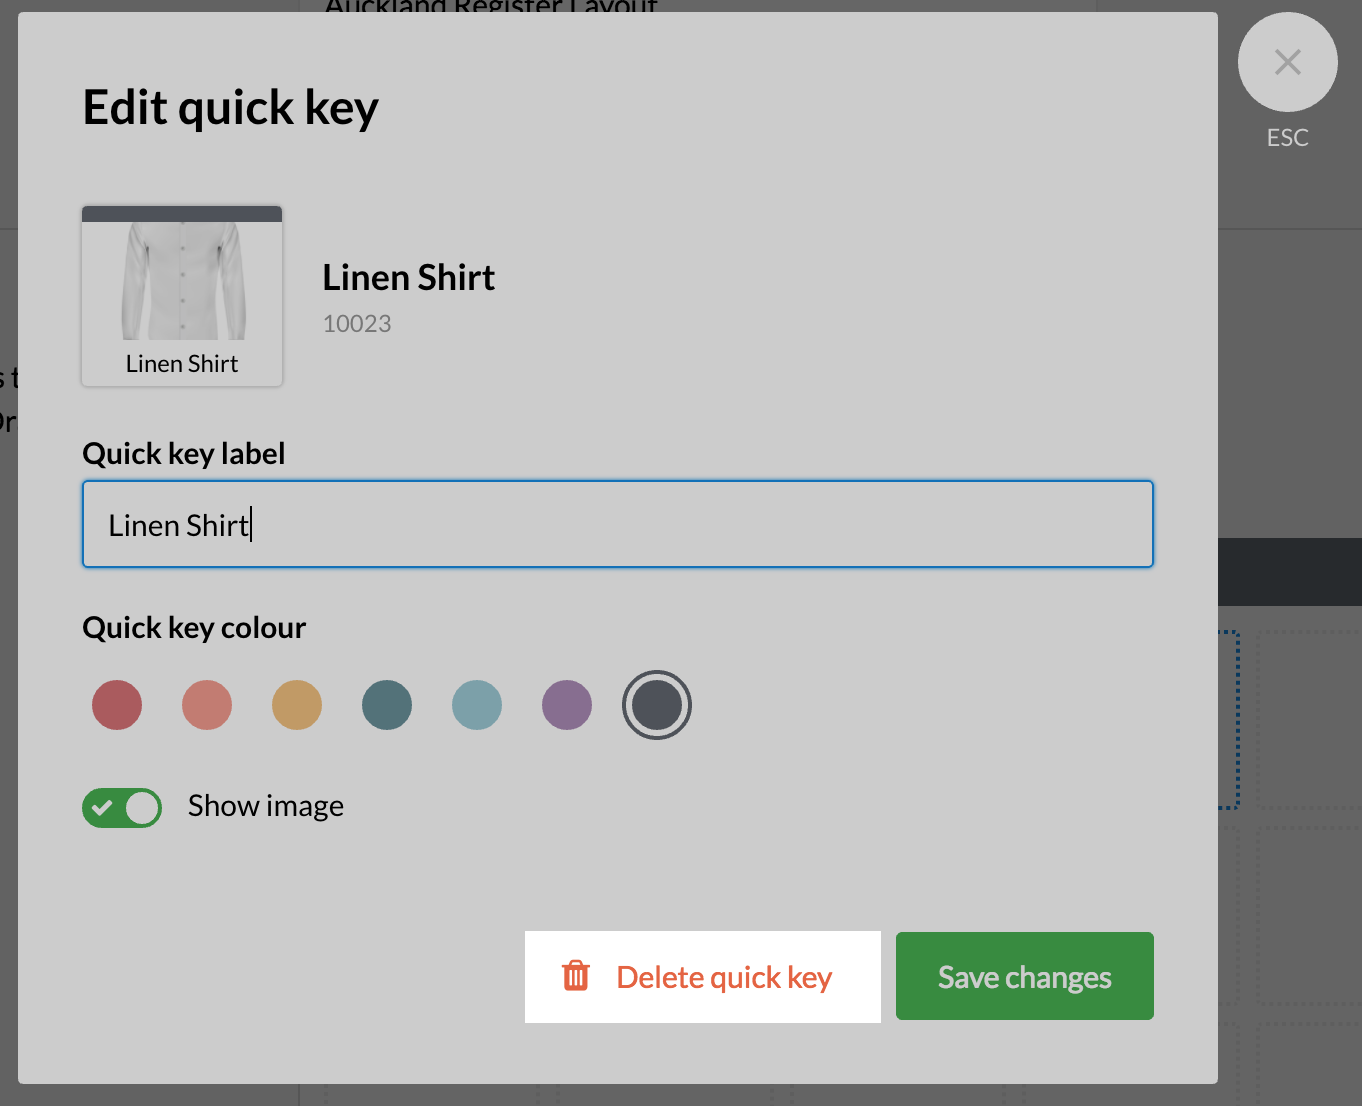
Delete a Quick Key:
To delete a Quick Key, click on it in the layout edit screen and select 'Delete quick key' at the bottom of the window.
Managing existing Quick Keys layouts:
In addition to adding new Quick Keys layouts, you can also manage your existing layouts right from the Settings page.
Change current layout:
If you'd like to change the current layout of the register you're logged into, click the 'Set as current layout' button on the layout you wish to change to.

Edit layout:
To edit an existing layout, click the pen icon to the left. This will bring you to the Quick Keys layout edit screen where you can add new Quick Keys and edit the order of your Quick Keys.

Duplicate current layout:
Click on the duplicate icon to create a copy of your current layout. This is a great way of modifying an existing layout for use on one of your other registers.

Note: While a new layout will appear automatically when you do this, it may take up to 5 minutes for the contents of this layout to sync.
Delete layout:
To delete a layout, click the trash can icon to the far left.

Enabling and Disabling your Quick Keys layouts:
If you'd like to enable or disable the Quick Keys layout for the register you're currently logged into, click the 'Enable Quick Keys in my store' toggle above the 'Add new layout' button.
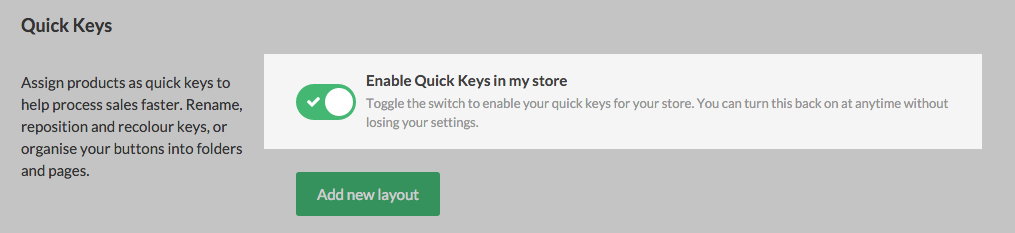
Note: You can toggle your Quick Keys on and off at anytime without losing your Quick Keys settings.
Related Articles
Lightspeed X Series | Quick Keys
Quick Keys in the Lightspeed X Series is a powerful feature that helps speed up the checkout process by providing one-tap access to commonly used products. Whether you're managing a busy retail store or want to improve efficiency at the register, ...Setting up Store Promotions in Vend for PC and Mac
To add and edit your promotions: 1. Navigate to Products -> Promotions. Here will be a page listing all current promotions. If you already have a promotion setup, you can click on this promotion in the list below to expand and edit it. 2. To add new ...Sales History for Vend on Mac or PC
What is the Sales History? How is the Sales History different from the Sales Ledger? Finding your way around the Sales History Sales History tabs Filters List of sales Viewing sale details Returning a Sale Retrieving and Continuing Sales Retrieving a ...Lightspeed R Series | Custom Menus
Custom menus in the Lightspeed R Series provide businesses with the flexibility to create and manage personalized menus that suit their operational needs. Whether you want to organize your items for quick access or set up seasonal menus, this feature ...Adding Customers to a Sale in Vend for Mac or PC
To record a customer on a sale, follow the steps below: 1. In the right-hand search box, type the customer's name, phone number, email, company or customer code. 2. A drop-down will show matching customer names. You can keep typing more letters until ...