Setting up your Star 650II BTI Bluetooth printer for your iPad
Device checklist:
In order to set up your receipt printer with your iPad, you'll first need to make sure you have all the peripherals needed.
Cables:
As the 650II BTI is Bluetooth it does not require any cables to connect it to your iPad. The only cable you will need for your printer is the power cable.
Receipt Rolls:
Make sure you've got your 80mm receipt rolls ready to go. To load your receipt roll open the latch on the top right of the printer, place the roll inside and pull some of the paper through before closing the lid.
Cash Drawer (Optional):
You may also wish to set up your cash drawer at the same time, to do this you'll need a specialized cash drawer cable. This looks similar to a phone line cable.
Connecting your Star 650II BTI Receipt Printer to your iPad
You'll first need to connect the printer to your iPad in Bluetooth settings. To do this:
1. Open the Settings app on your iPad.
2. Tap the 'Bluetooth' option under 'General Settings'.
3. Ensure Bluetooth is turned on.
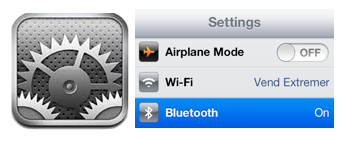
NOTE:
The Bluetooth slider should be green and switched to the right. If the slider is to the left and in gray, tap again to ensure Bluetooth is ‘on’.
4. On the back of the printer, press and hold the PAIR button for 5 seconds or more.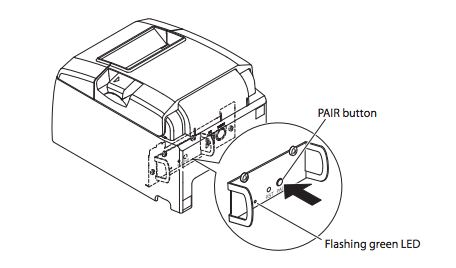
5. In the Bluetooth 'Device list' on the iPad tap 'Star Micronics'
6. Type in the device PIN: 1234 if required. A tick should appear next to the device confirming that it's successfully connected.
Now that you've got your printer connected up to your iPad you're ready to add it to the Vend app. To do this:
1. Open the Vend Register app and Tap the menu icon. The sidebar will open.
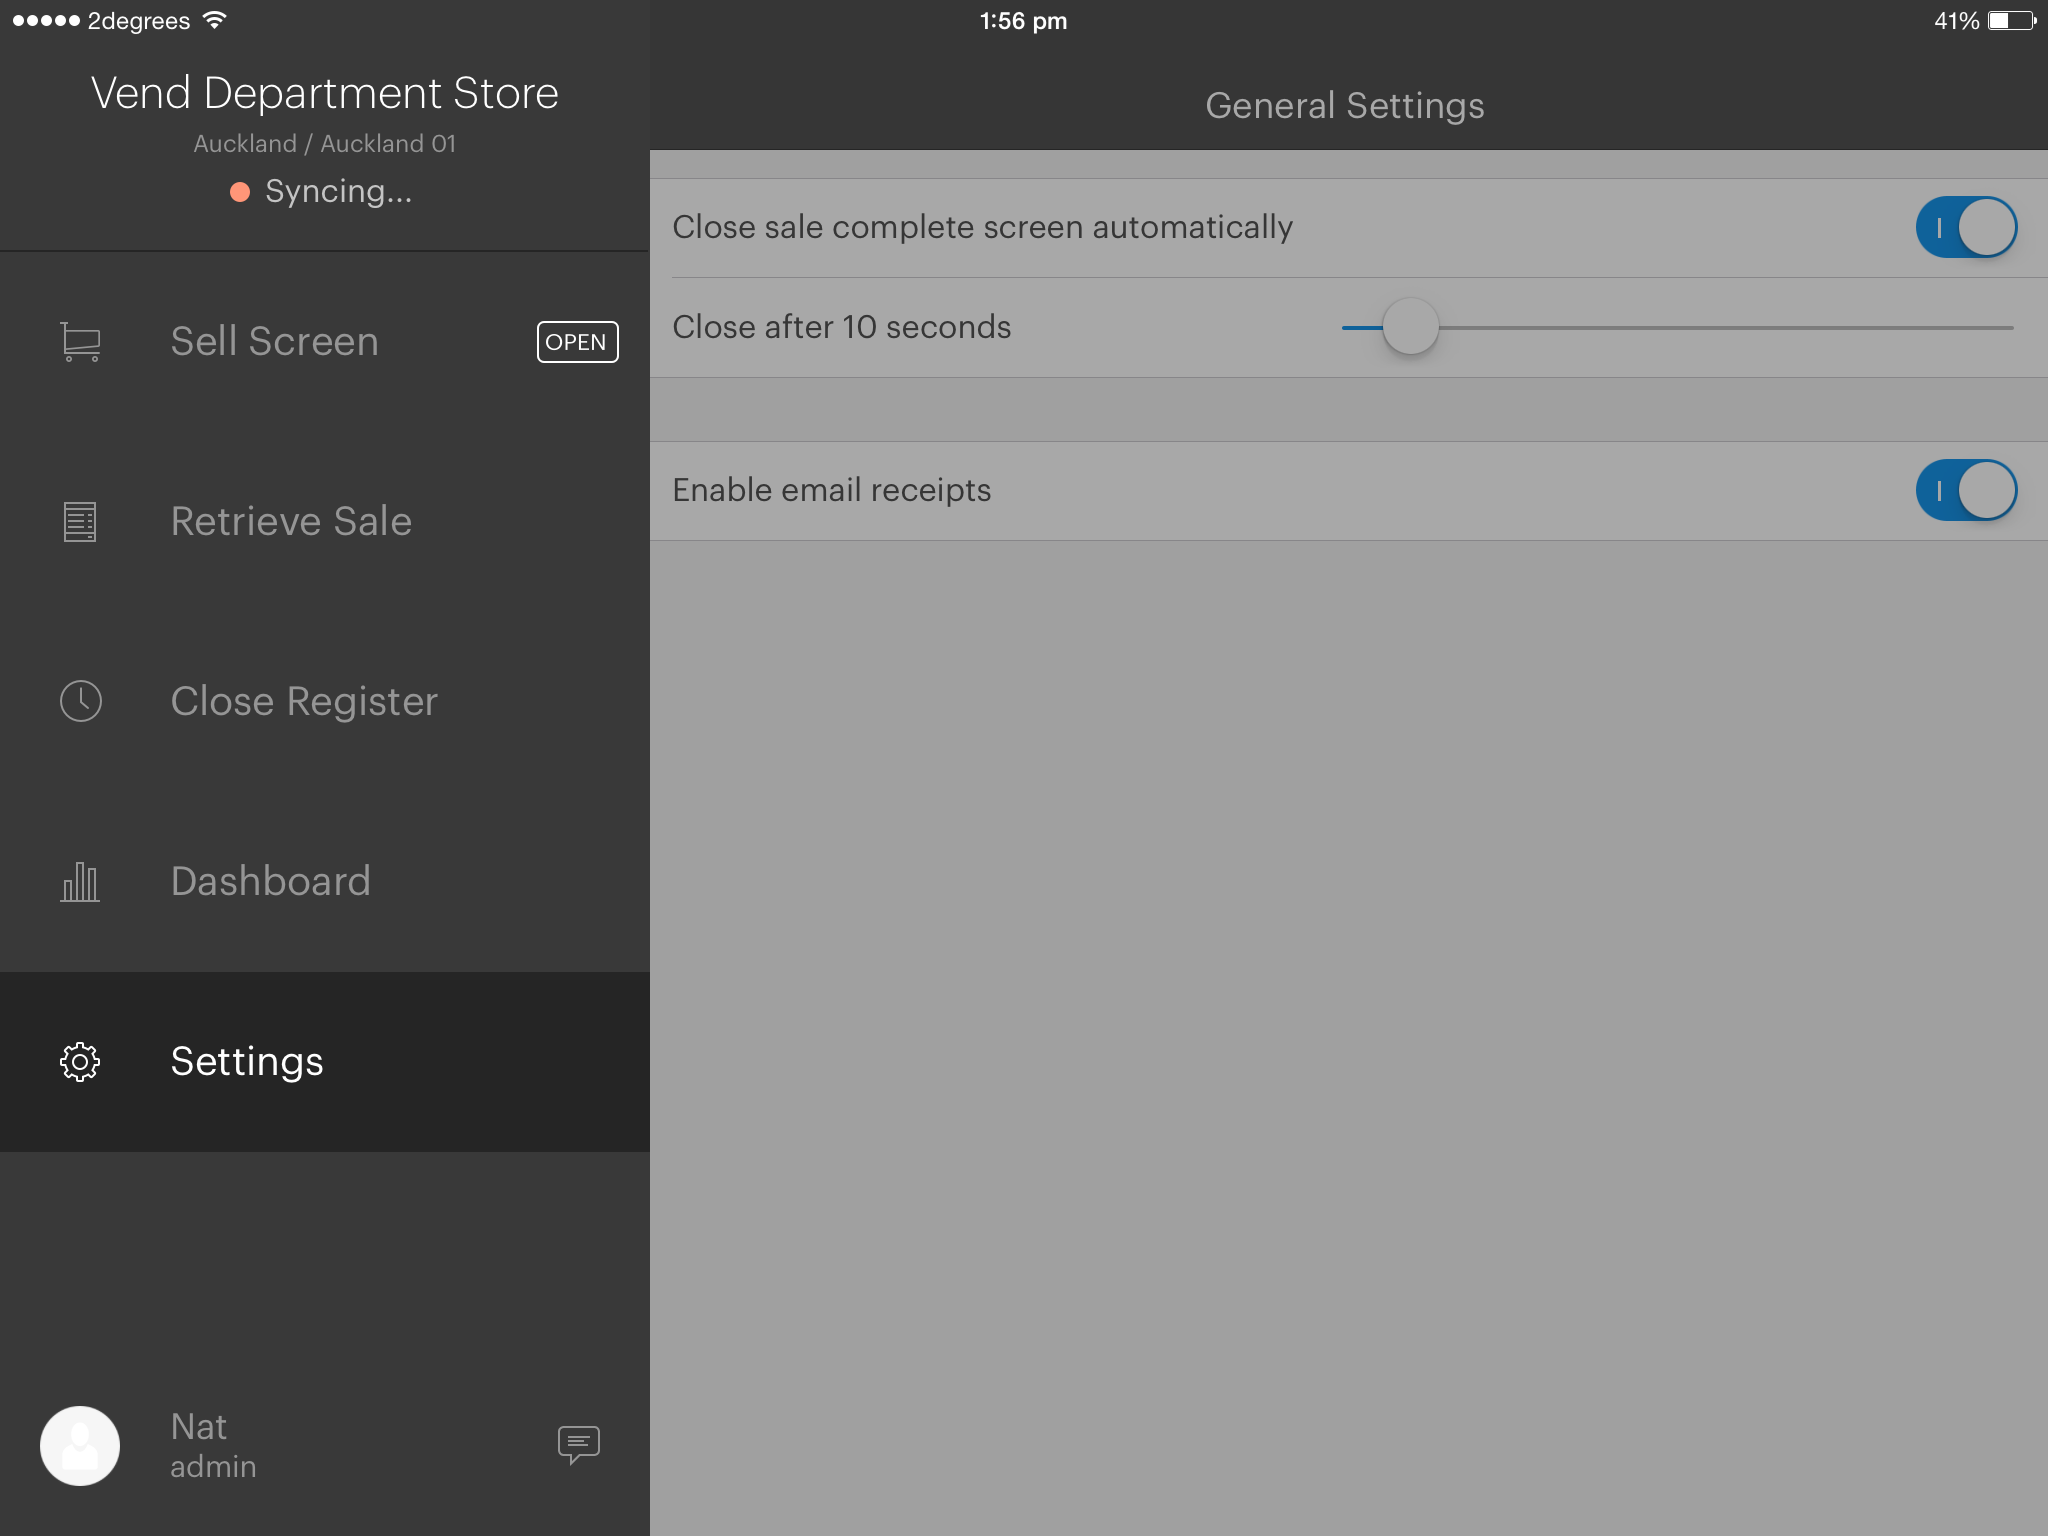
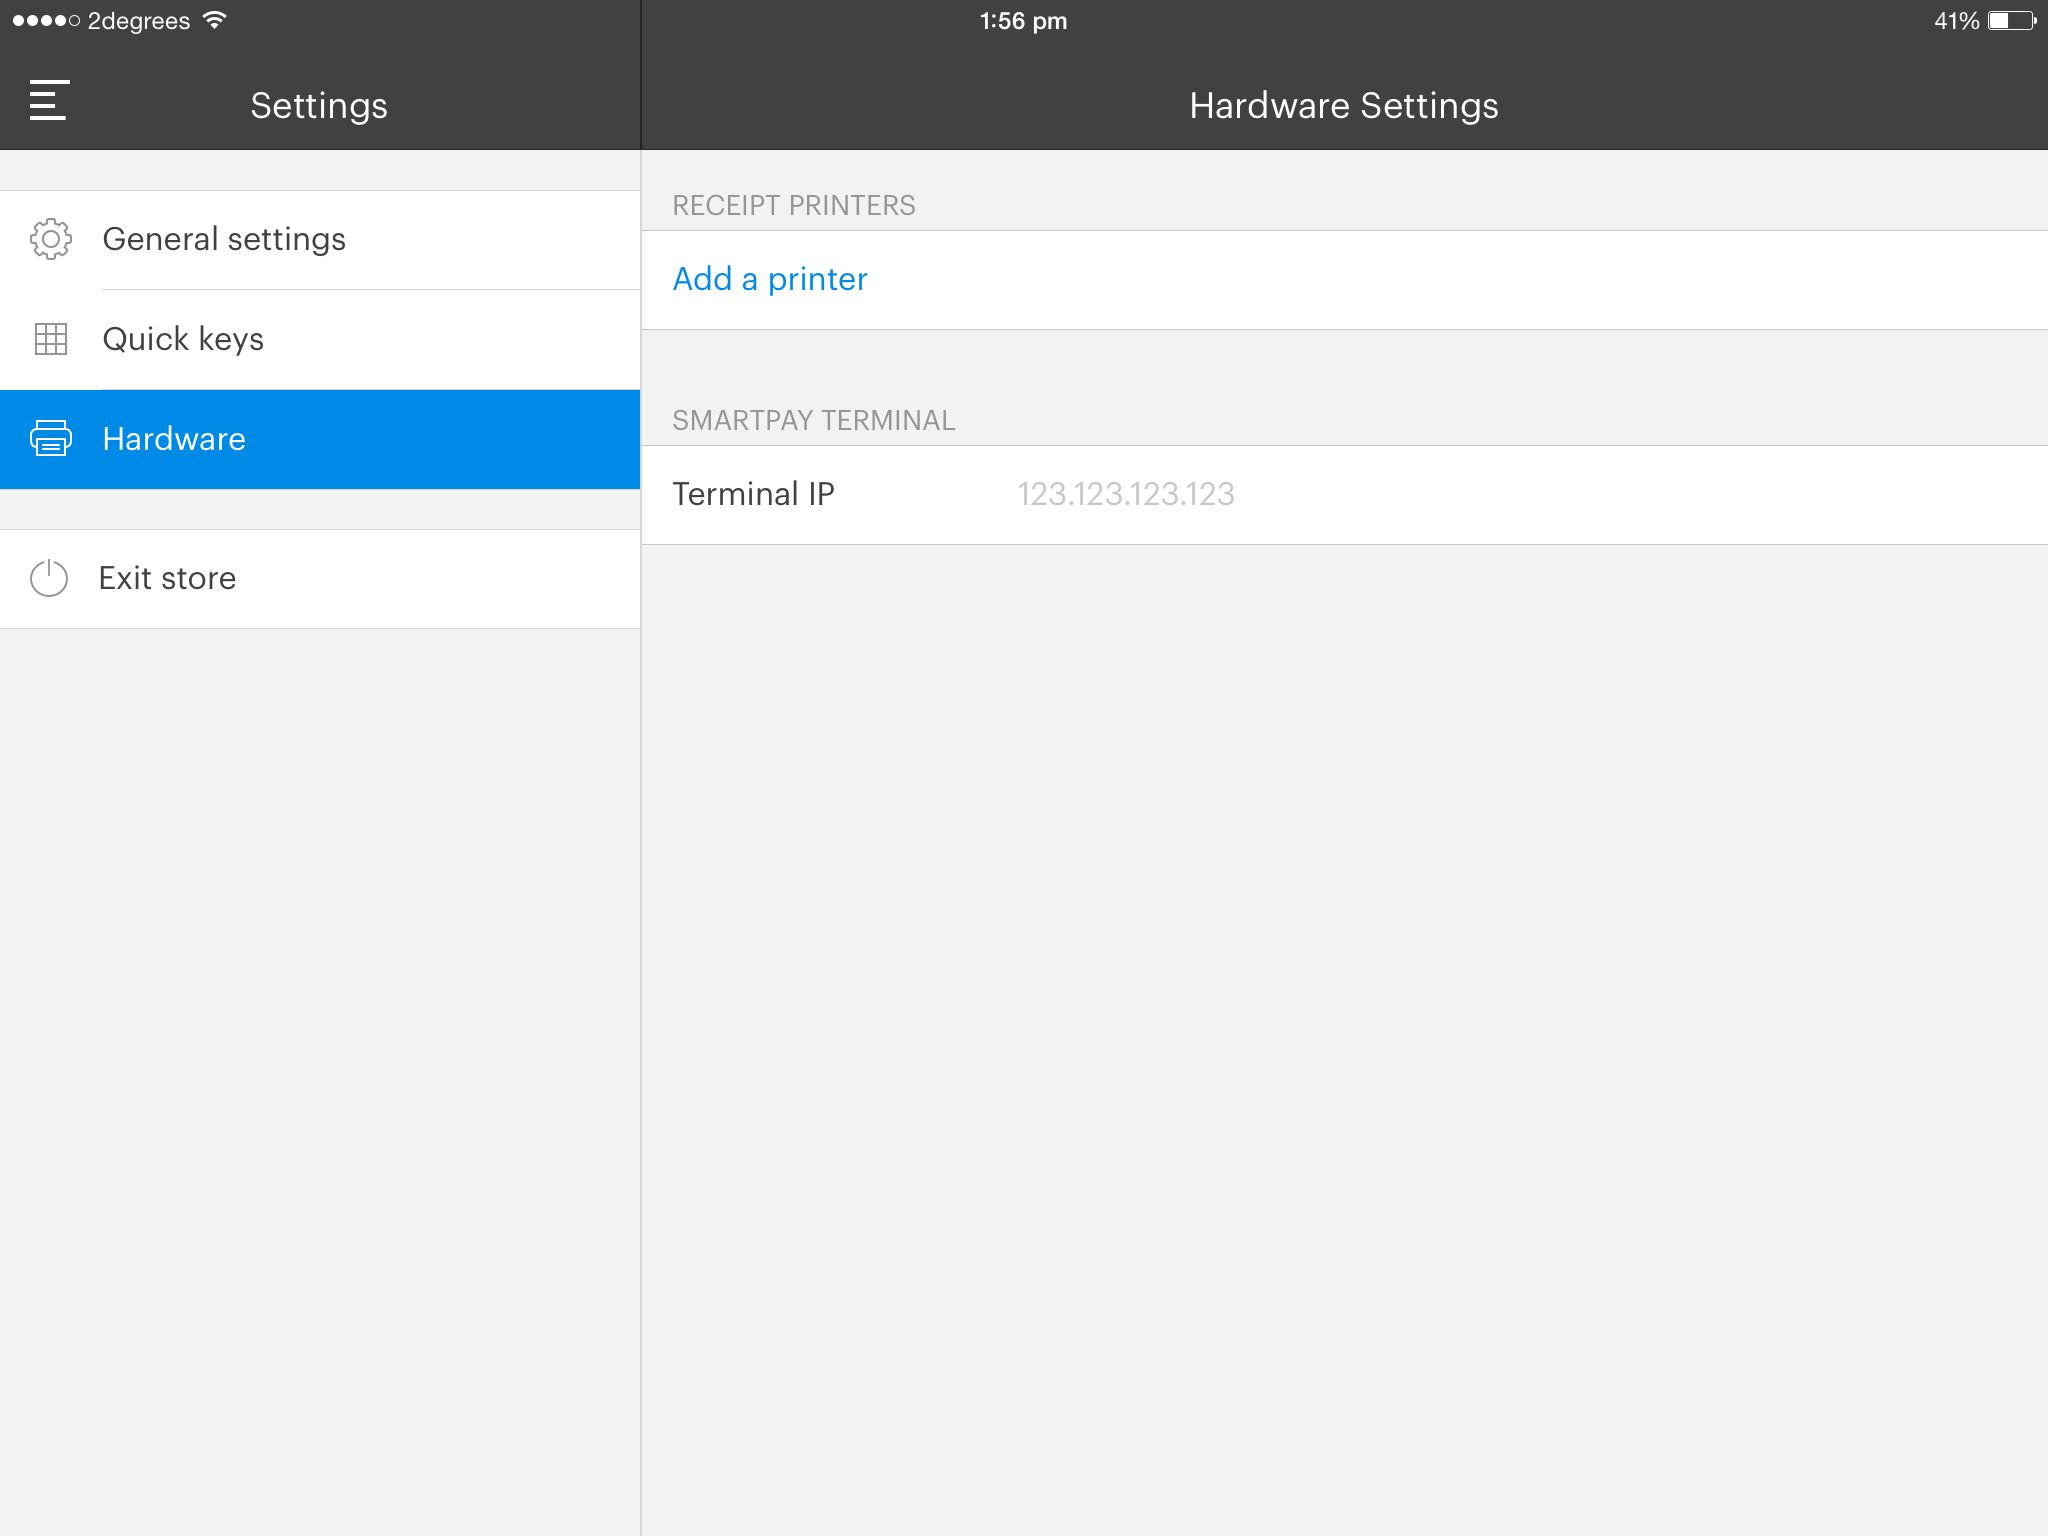
2. Select Settings > Hardware > Add Printer to generate the “add printer” form:
3. Tap the 'Printer Model' section and select 'Star 650II BTI'.
NOTE:
You do not need to put any information into the "Bluetooth Adress" field. If you get a "printer not found" error, check and make sure that the "Bluetooth Address" field is empty. If there is something inside this field, remove it and save the printer.
4. Select a name for your printer. This can be anything you choose such as “Cashier 1” or “Receipt Printer”. Include your selection in the “name” field.
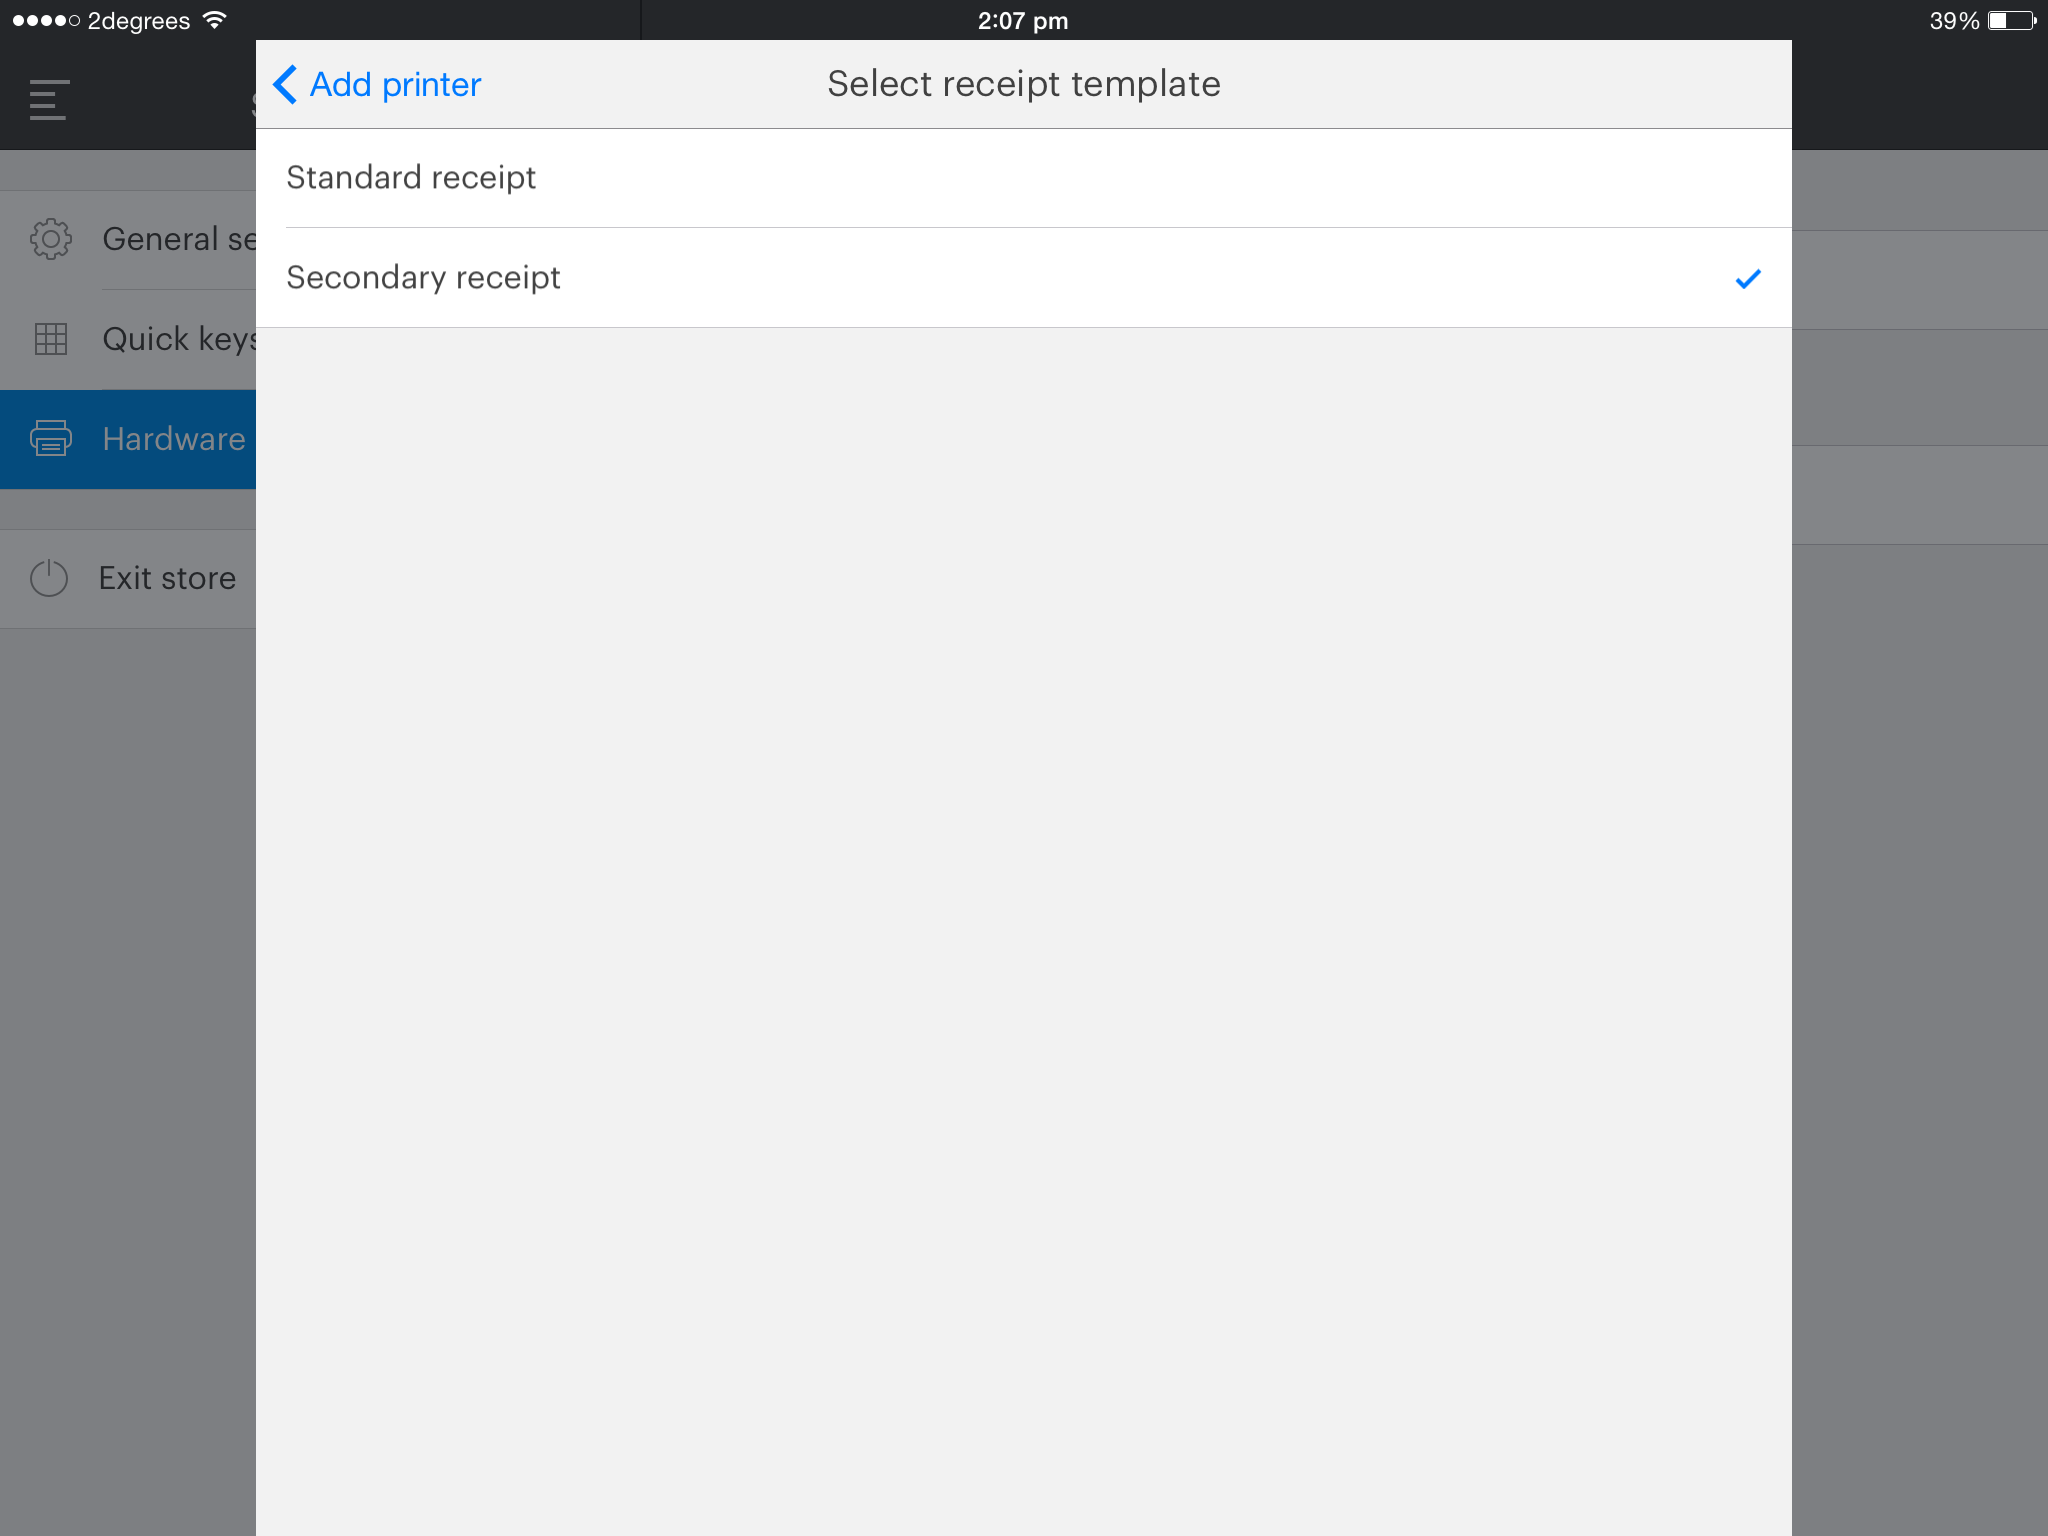
5. Select one of the following receipt options:
- a standard receipt - this is a typical end-of-sale receipt.
- a secondary receipt - this is a receipt that only prints certain items.
6. Choose whether you'd like your receipts to be printed automatically. If you don't automatically print a receipt, you won't be able to manually print one during the sale.
7. Choose the number of receipt copies you’d like to print for each sale
8. Click “save” to add your printer.
NOTE: Run a test sale to ensure your setup is successful. If your receipt fails to print, go back to previous notes. Remember to void the test sale after your receipt is printed!
Set up your Cash Drawer
Once you've got the printer all set up, you can connect up the cash drawer.
The cash drawer connects to your receipt printer and is triggered to open when you finish a cash or cheque sale and the receipt is printed by the printer.
A manager or admin can also manually open the cash drawer directly within Vend.
To set up the Cash Drawer, follow the instructions below:
1. Plug the RJ12 connector cable from the cash drawer into the receipt printer.
2. Open up the Vend Register app and tap the menu button to open the sidebar menu.
3. Tap 'Settings' and choose 'Hardware'.
4. Select the printer you want to attach the cash drawer to.
5. On the printer settings page in Register, toggle the 'Cash drawer enabled' setting to 'on'.
6. Toggle the 'Open cash drawer on sale' setting to 'on'.
Related Articles
Setting up your DYMO 450 Turbo label printer for Windows PC
Before Getting Started: Before printing from your Dymo, make sure you have the correct Label sizes supported with Vend. While Dymo supports a range of different label sizes we recommend 11352, 30336 or 1738541 Dymo labels. Here is a video which goes ...Receipt Templates for the Vend Register iPad App
Receipt Template Sync for Vend Register on iPad What do I need to know if: I also use Vend on my Computer or used to use the old iPad app I've only ever used Vend Register How do I? Set up and edit my receipt template Create a new receipt template ...Add your mPOP device to the Vend App:
To add your mPOP device to the Vend App: 1. Open the Vend Register app and Tap the menu icon. The sidebar will open. 2. Select Settings -> Hardware -> Add Printer to generate the “add printer” form: hardware menu 3. Tap the 'Printer Model' section to ...Sales History for iPad
In your sales history on Vend's iPad app, you can view previous sales, load an open sale onto the sell screen, and reprint receipts. To access the Sales History: Tap the menu button on the top left. The sidebar will open. Select 'Sales History'. ...Setting up promo codes for Basic promotion in Vend
Vend's new Promo Codes feature is an extension to their Promotion's feature which will let you set up Promo Codes to offer your customers discounts on all or selected products in your store. Important: Promo Codes are only available for retailers ...