The payments report provides data on all payment types in your Retail POS store, along with the total amount of payments taken for each over the specified period.
It is important to note that all payments include tax.

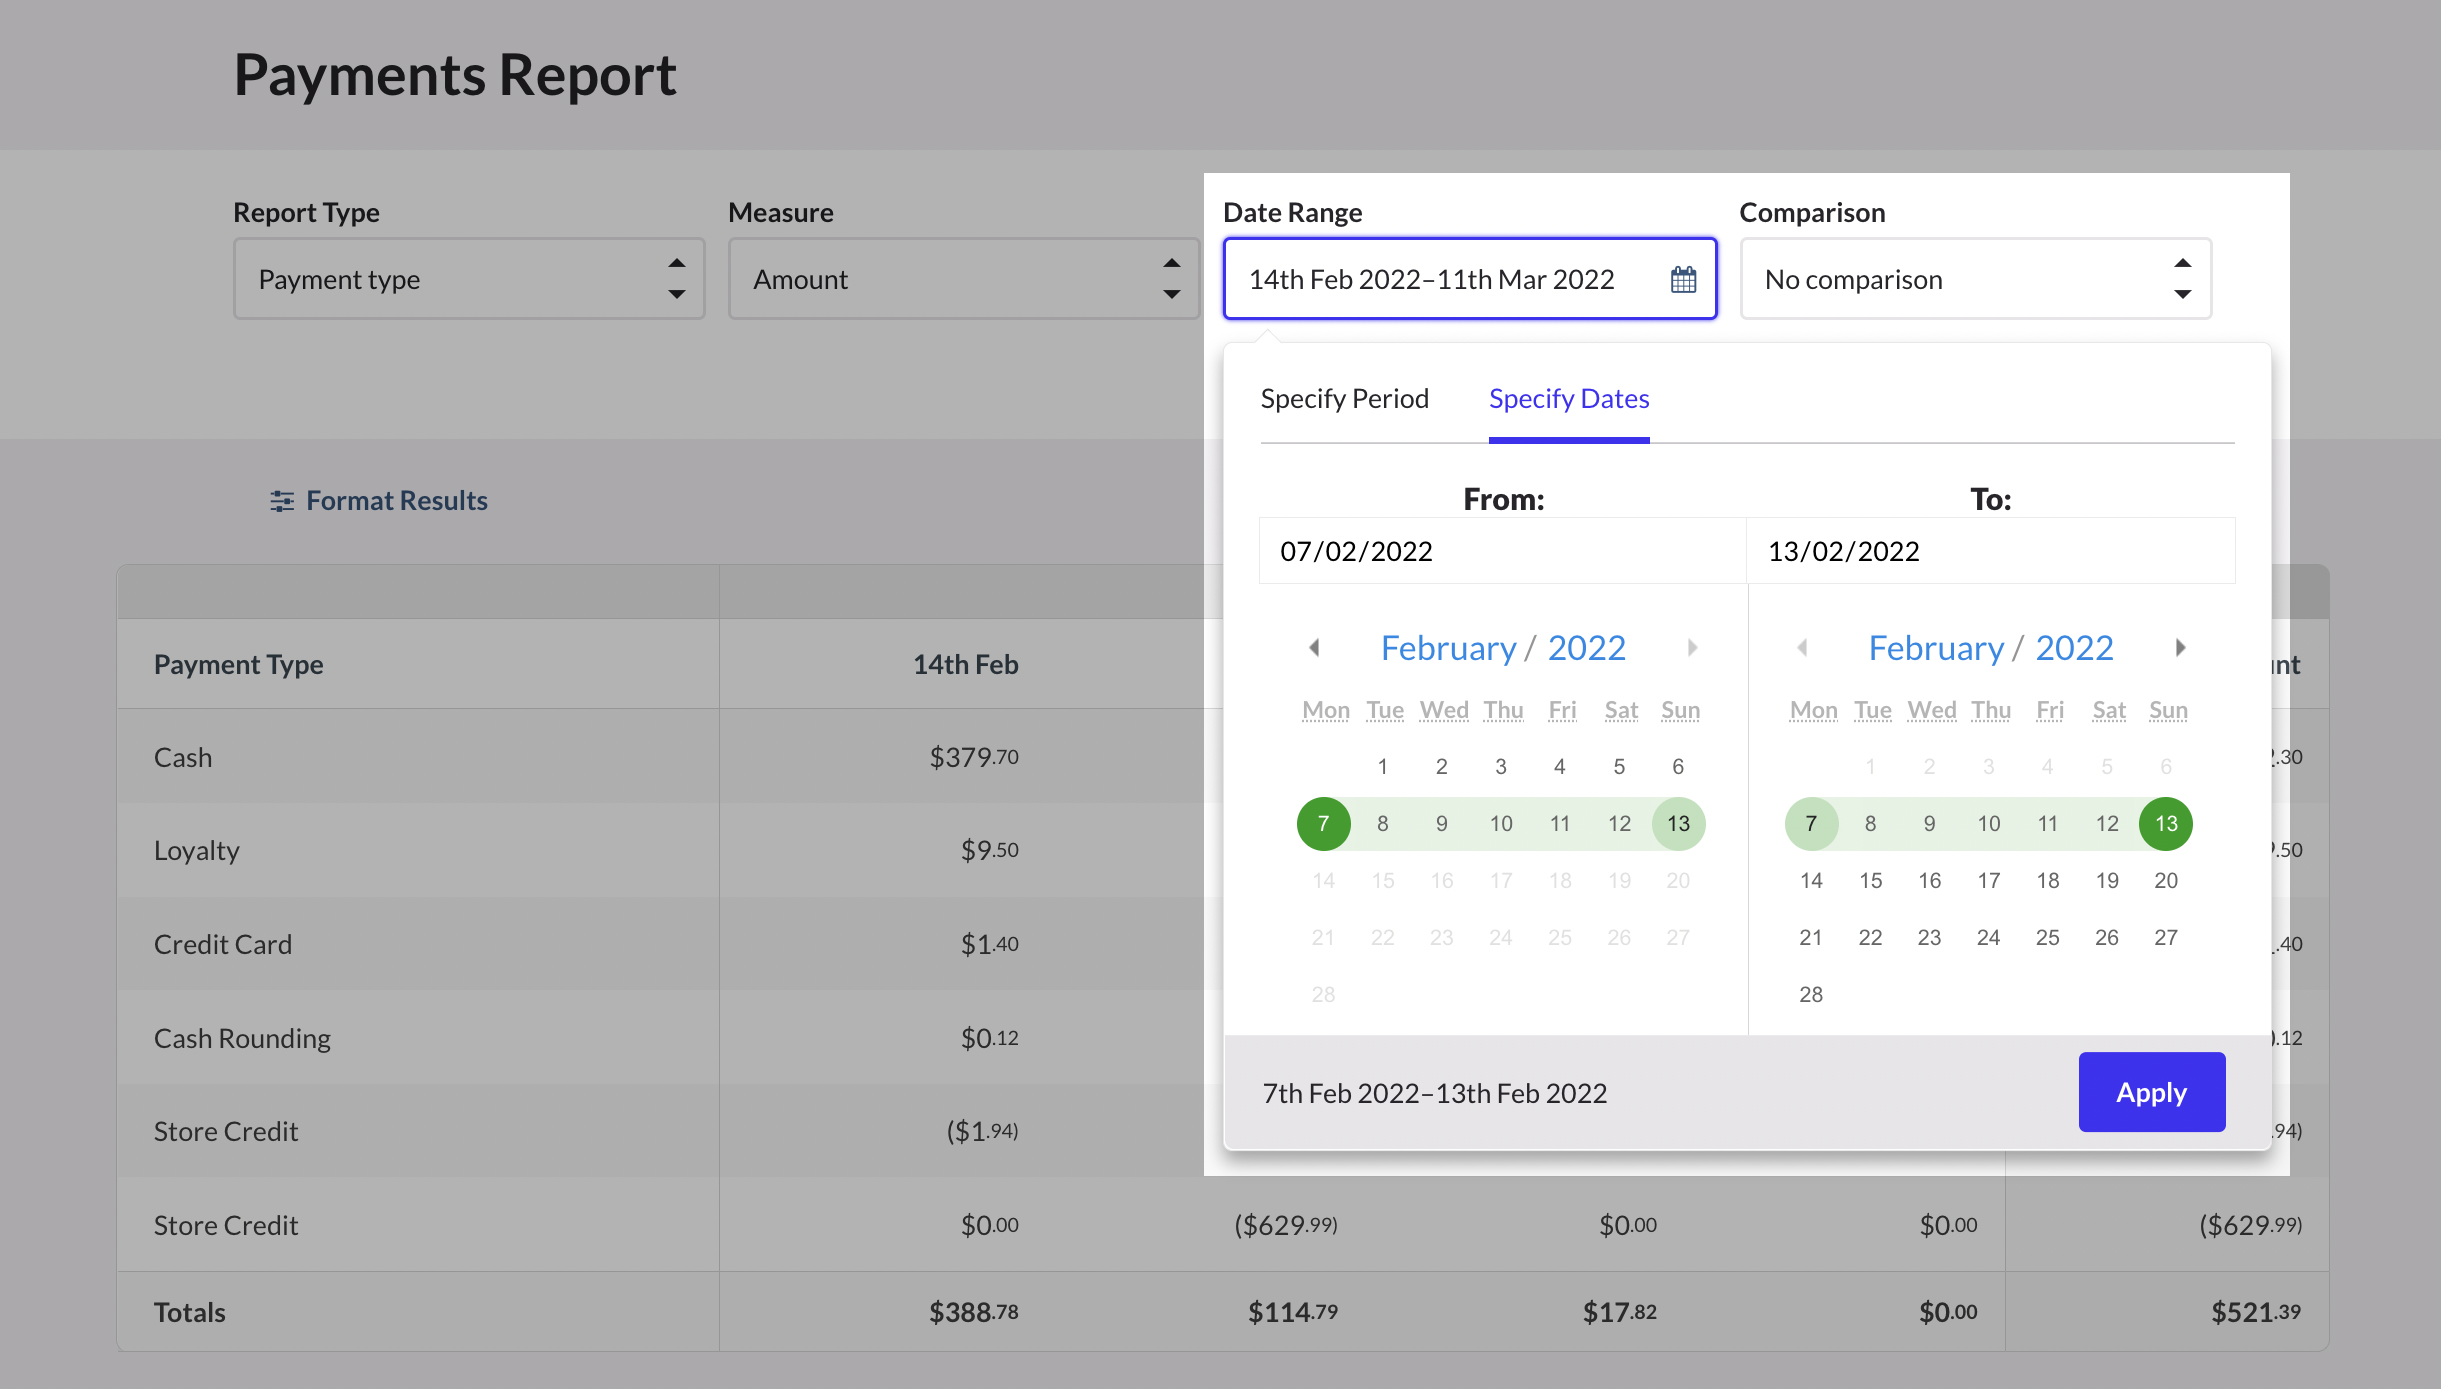
Date range
You can set the date range for this report. When you select the Date range drop-down, you will have the option to review sales performance in a specific period (Specify period) or between specific dates (Specify dates).
Specify period
There are two parameters to set when using the Specify period option:
1. First, set the period to compare when running a report. The following period options are available: Year, Quarter, Month, Week, Day, or Hour.
2. Once you have selected the period to compare, you can select a time range. The following options are available:
- [comparison period] to date: e.g. year to date, or today's sales.
- Previous [comparison period]: e.g. last year, or yesterday.
- Last x [comparison period]: e.g. last two years, last ten days, last three weeks.
- x [comparison period], from xx/xx/xxxx: e.g. 6 months, starting January 1, 2014.

This will generate a report for the comparison periods you have selected.
Specify dates
If you would like to filter your reports between two fixed dates, click Specify dates. Next, select the From and To dates, and click Apply. This will generate a report for your custom date range.
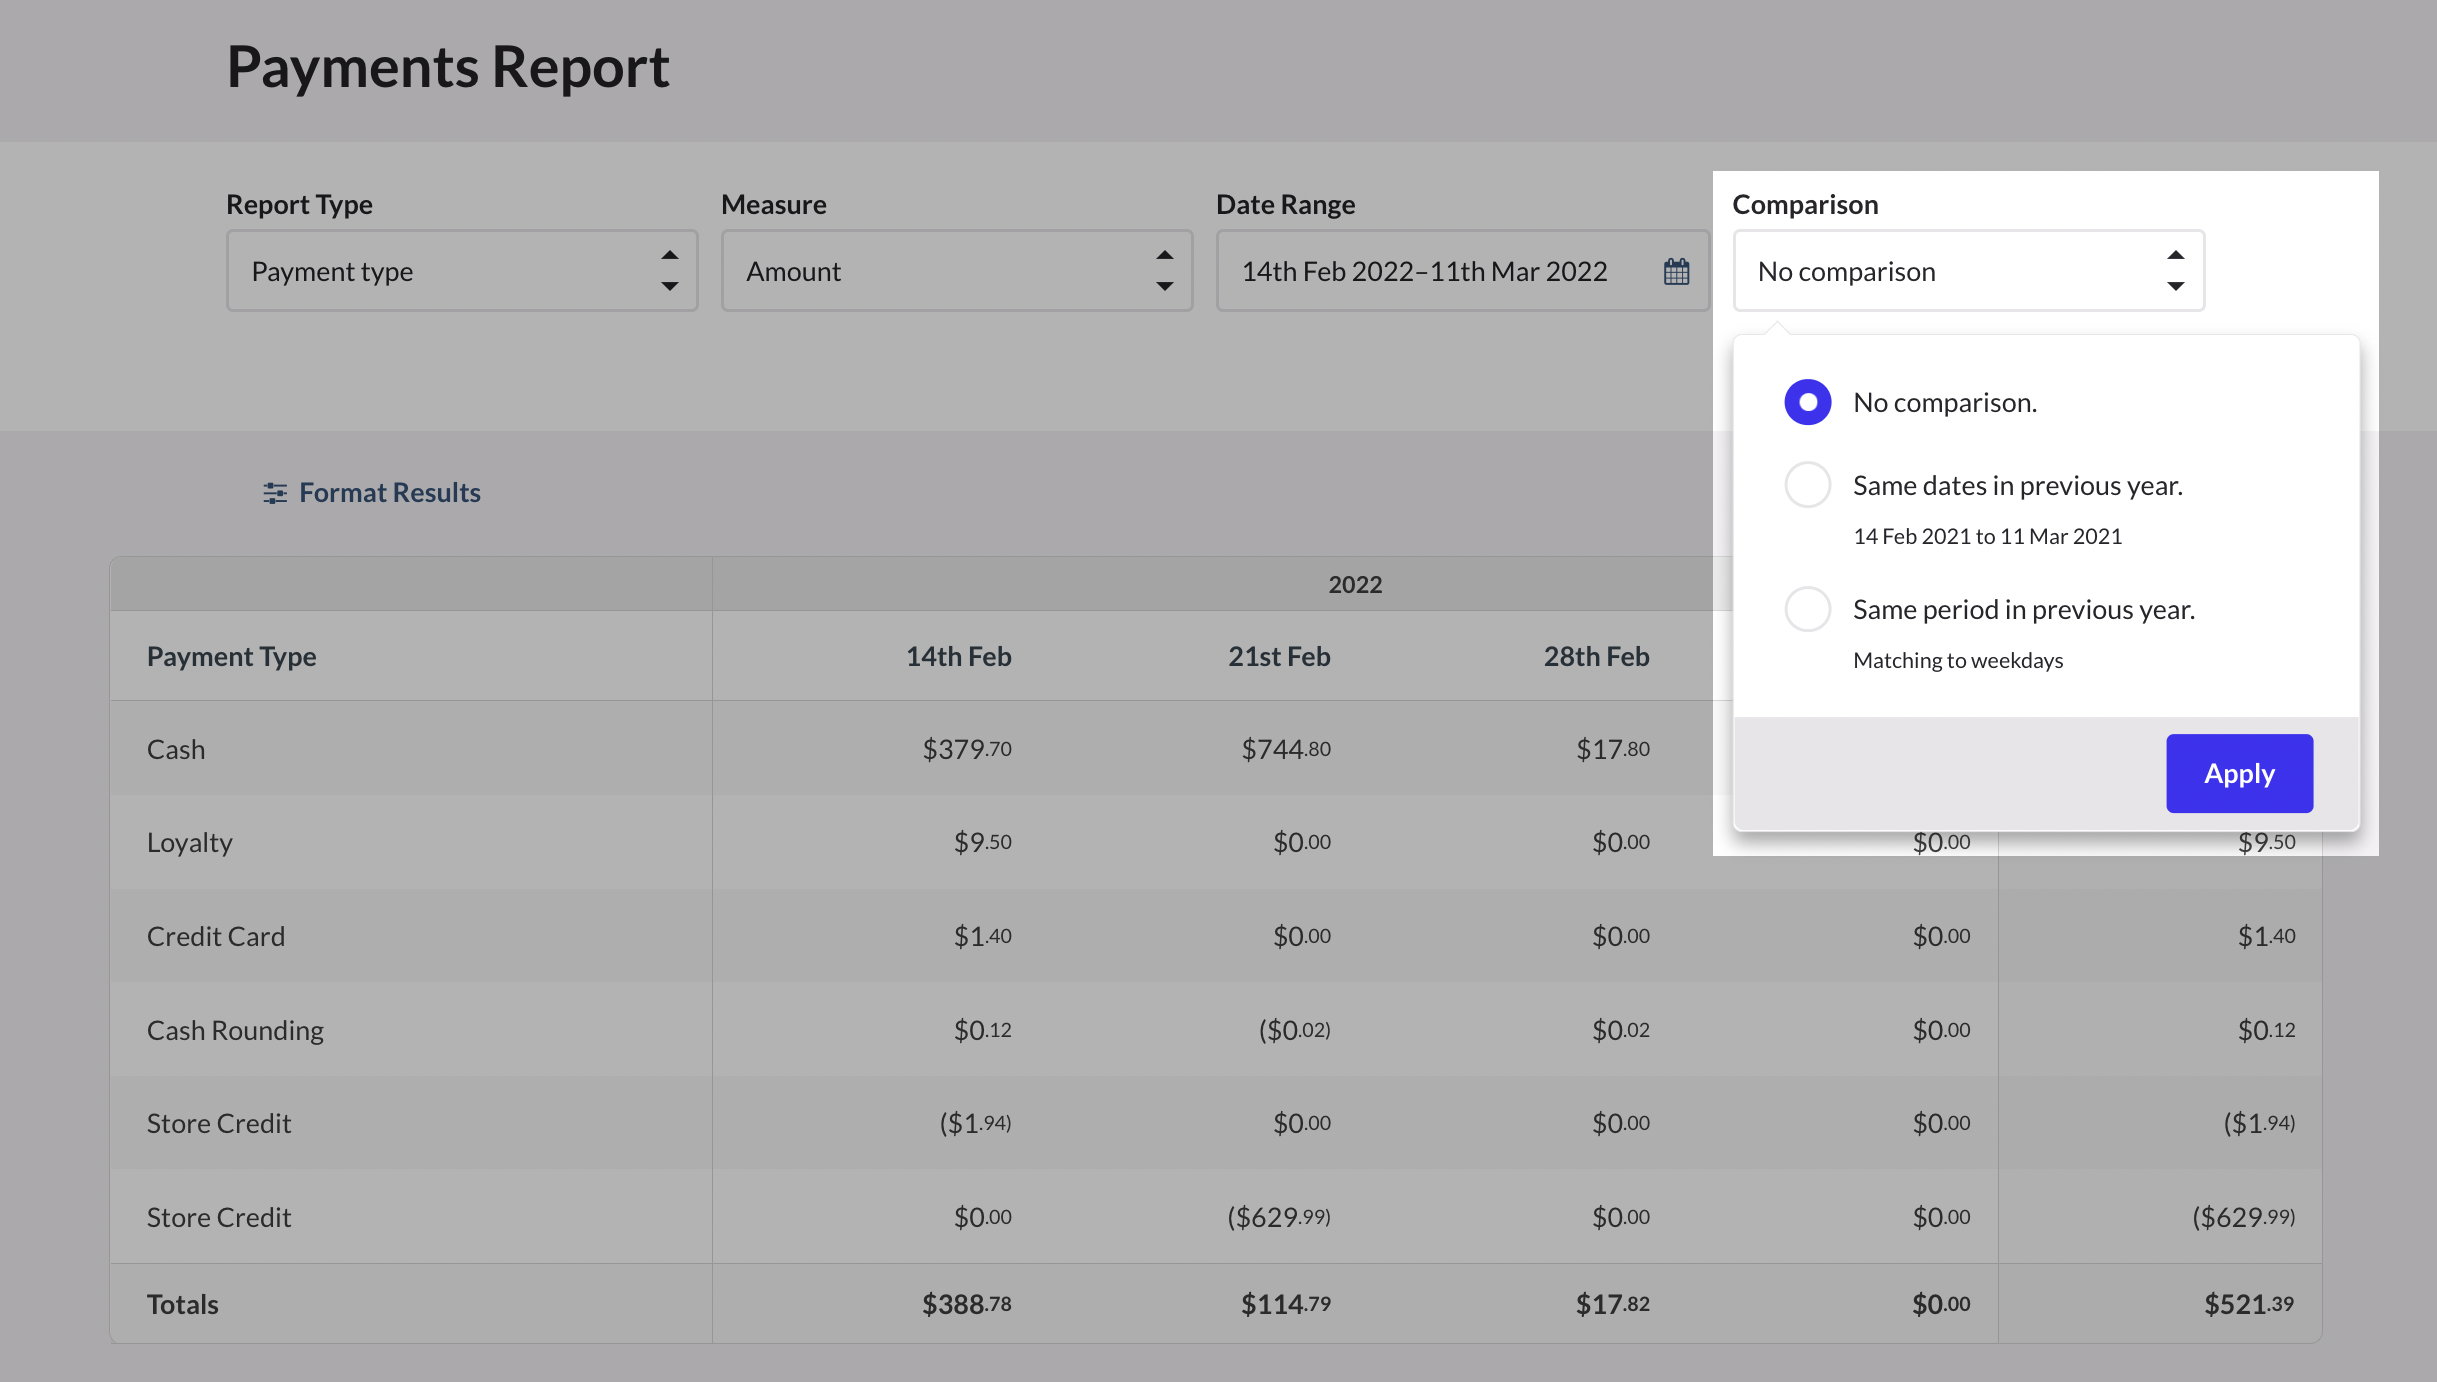
Comparison
Note
The comparison feature is not available on Lite, Lean and Standard plans.
You can use the comparison feature to compare selected date(s) to the same time period in the previous year. This can help you identify seasonal changes in your business.
After setting your date range, select the Comparison option. You can choose from:
- No comparison: set by default, no comparison is made
- Same dates in previous year: the dates that will be compared will be displayed
- Same period in previous year: matched by weekdays
Click Apply to compare dates in your report.
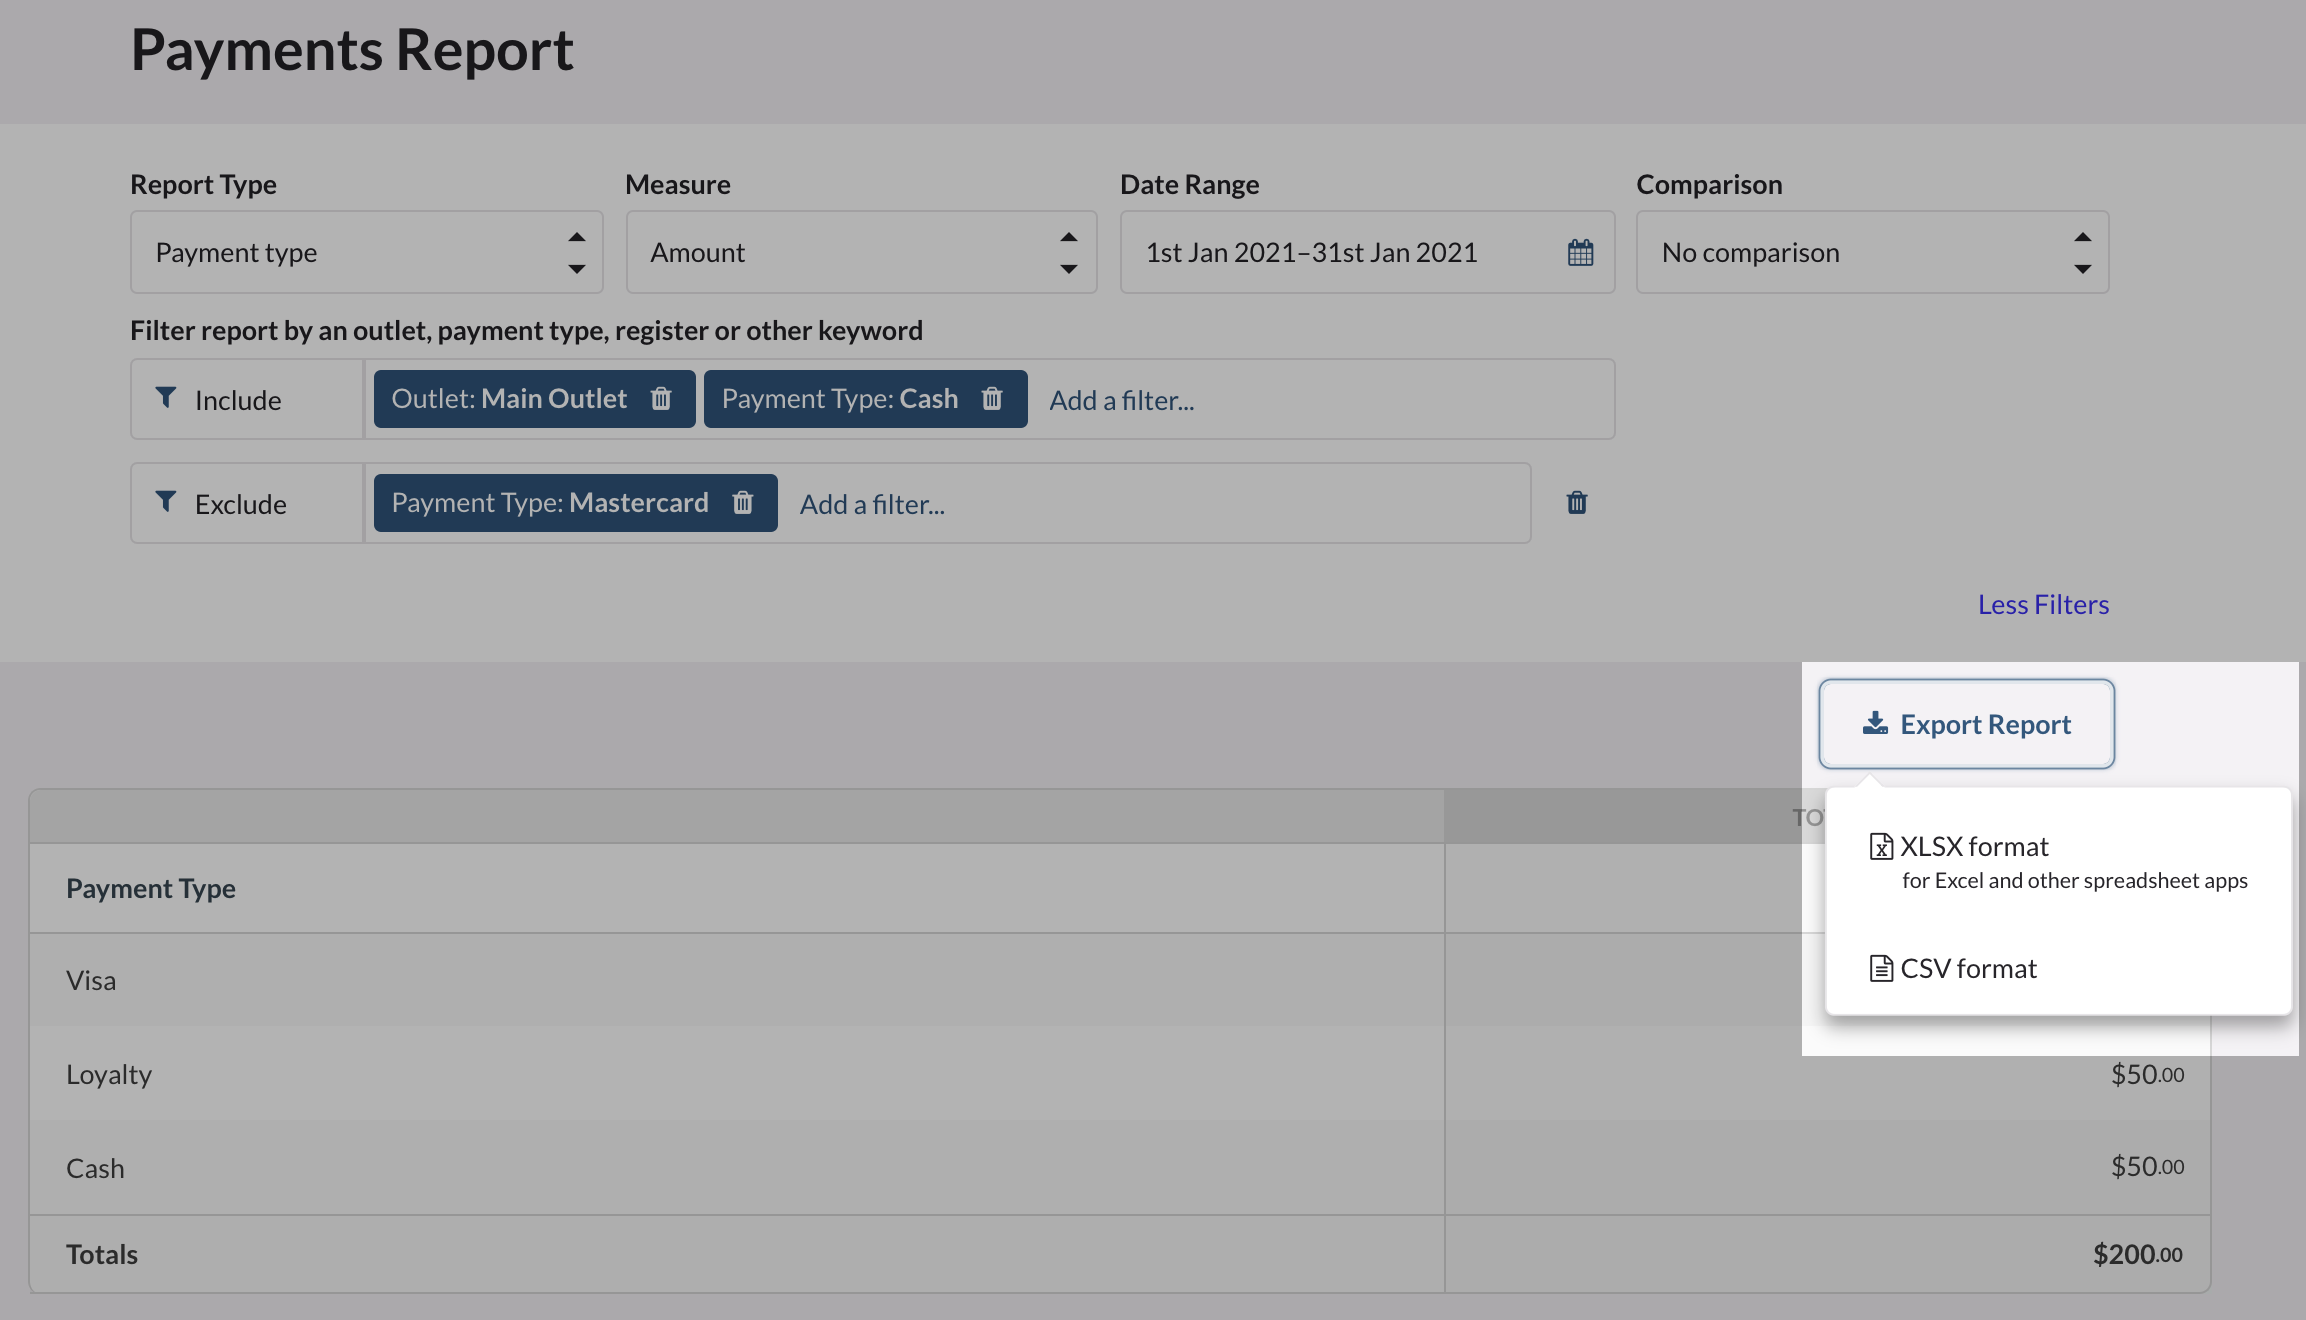
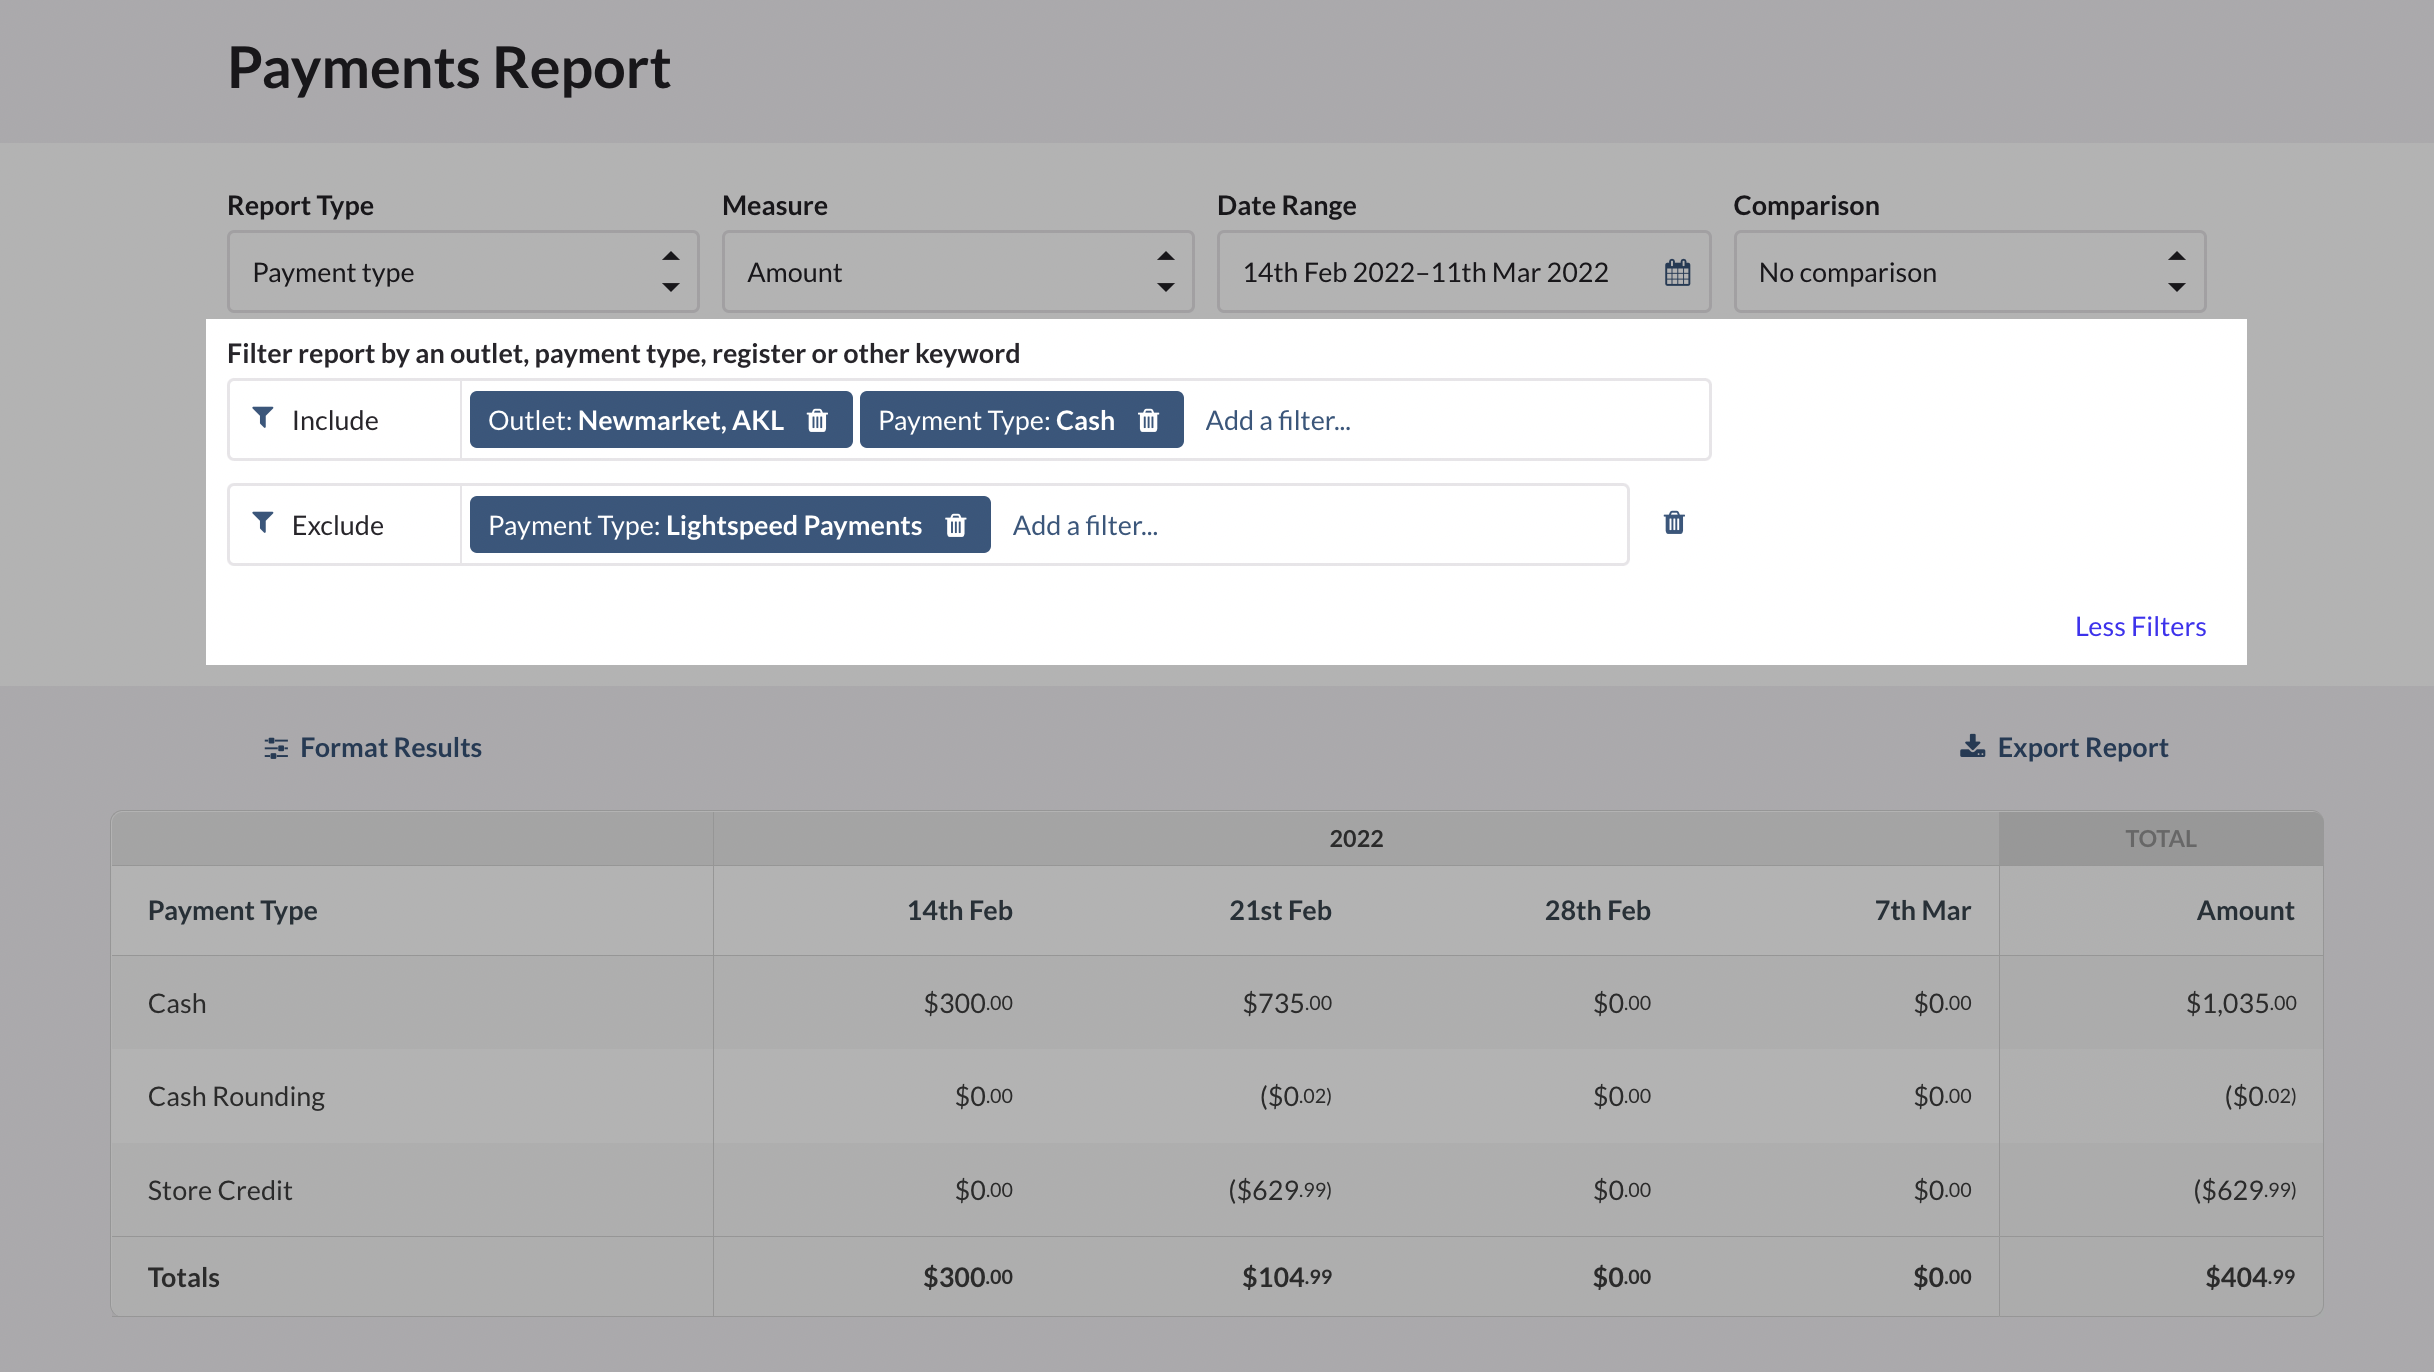
Filtering
Filters help you narrow results in your Payments report. Click More filters to filter by the available attributes, and then select either the Include or Exclude filter types:
- Payment type
- Outlet
- Register
- Other keyword
Type in a payment type or an outlet name, for example, to see only these results. These filters can be stacked to narrow down the report range.
Format results
For a more specific date and time filter, dates can be grouped by clicking Format results. Select to group dates by week, weekday, or hour, under Arrange columns.
The purpose of this filter is to add additional options for grouping the results in the selected report by week, day of the week, or hour of the day. This option also gives a better overview of certain patterns or trends that you may have observed over specified dates, which will help when making comparisons.

Export report
To export your Payments report data, click Export report.
You can then choose to download the report as an XLSX or CSV file that can be opened in a spreadsheet application such as Excel or OpenOffice.