Vend Register Basics
How do I train my staff to use the sell screen?
The easiest way to get your staff up and running with the new Vend sell screen is to enable training mode. To enable training mode, head to Sell -> Settings in the sidebar and select Enable Training Mode. Once training mode is active a blue bar will appear at the top of the screen and a tutorial will take your staff through the ins and outs of the selling process on the new sell screen. For more information on this mode, click here.
Note: No information is synced or saved when in training mode. So long as the blue bar is along the top of the screen you can continue to make dummy sales without it affecting your records. If you need to make a proper sale, make sure to turn Training Mode off beforehand.
How do I search for customers?
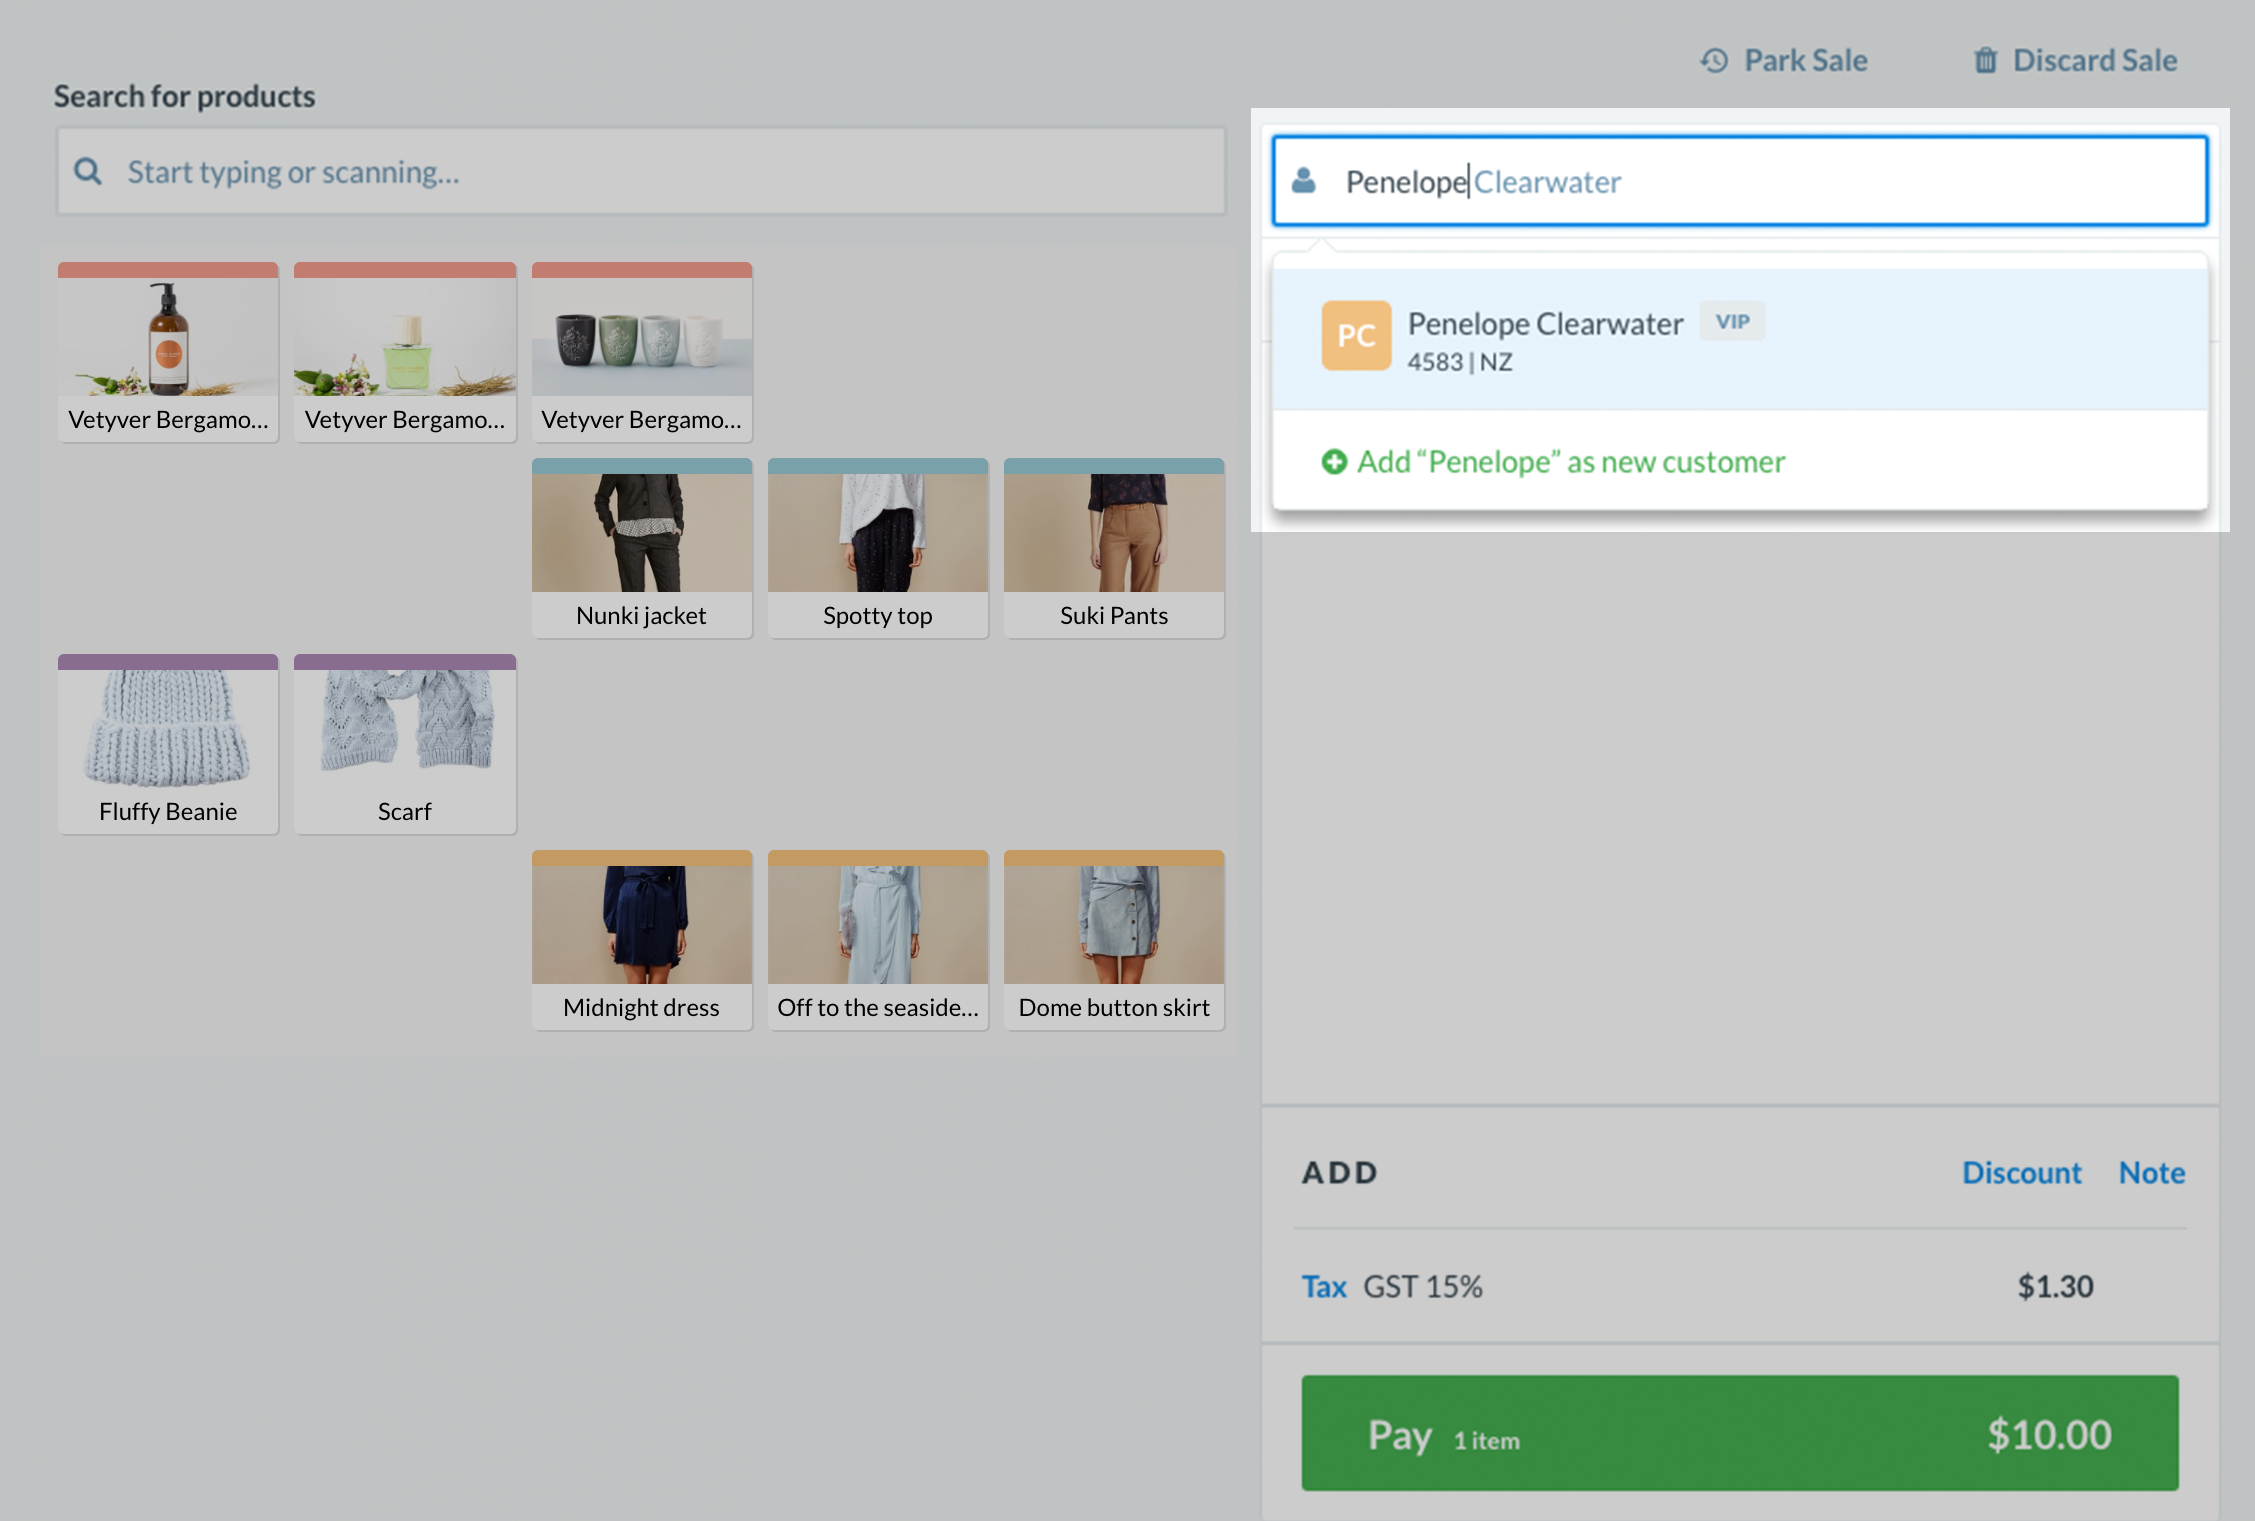
To search for a customer, navigate to the right-hand search box, type the customer's name, phone number, email, company or customer code.
How do I search for variants?
The search bar enables you to search quickly for your product by name, handle, or SKU.

To search for a variant you can either search for the variant by name, handle or SKU. Alternatively, you can search for the primary product (e.g. T-Shirt) and then, when you select this product, you will be prompted to choose the available variants (e.g. color -red, size - large).
How do I switch users?
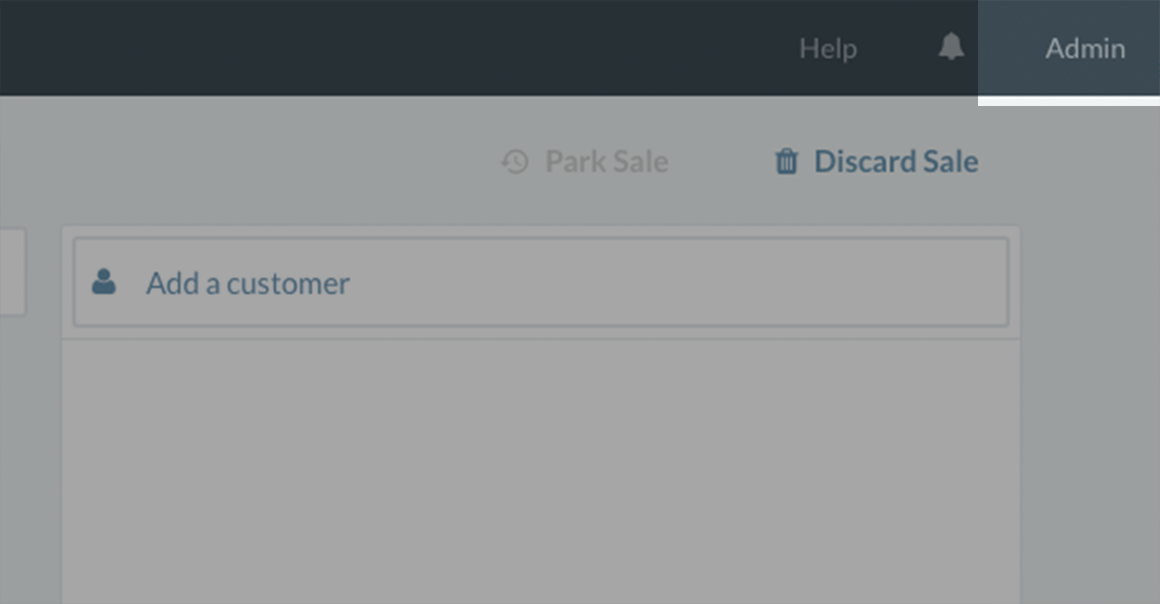
If you would like to switch users on the sell screen, navigate to the top right of the screen and click the username.
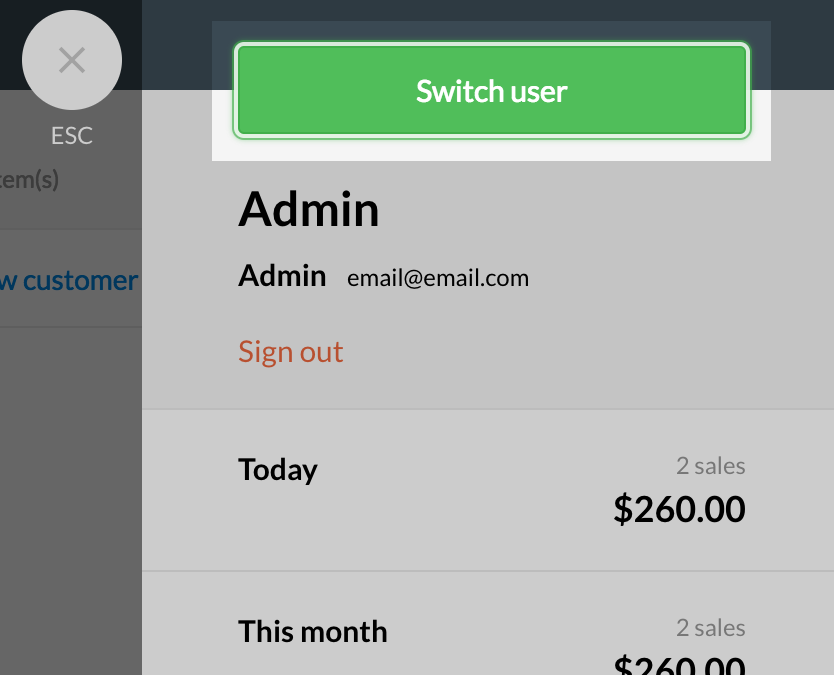
Once here, click the Switch User button.
You will be taken to a screen where you can choose which user you'd like to switch to. If you have a high number of users, a user search bar and filter will appear to help you navigate to the correct user faster.
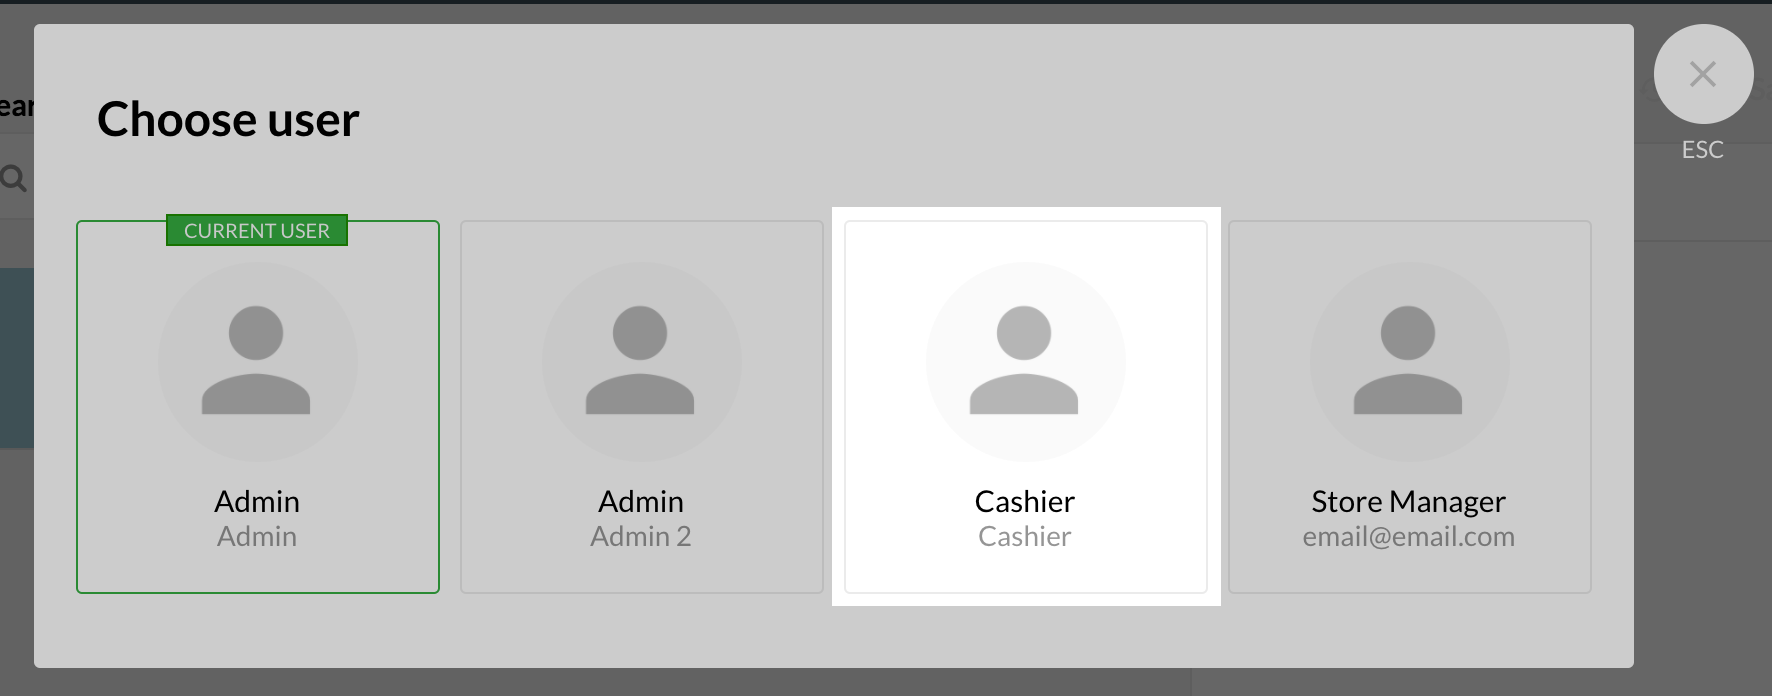
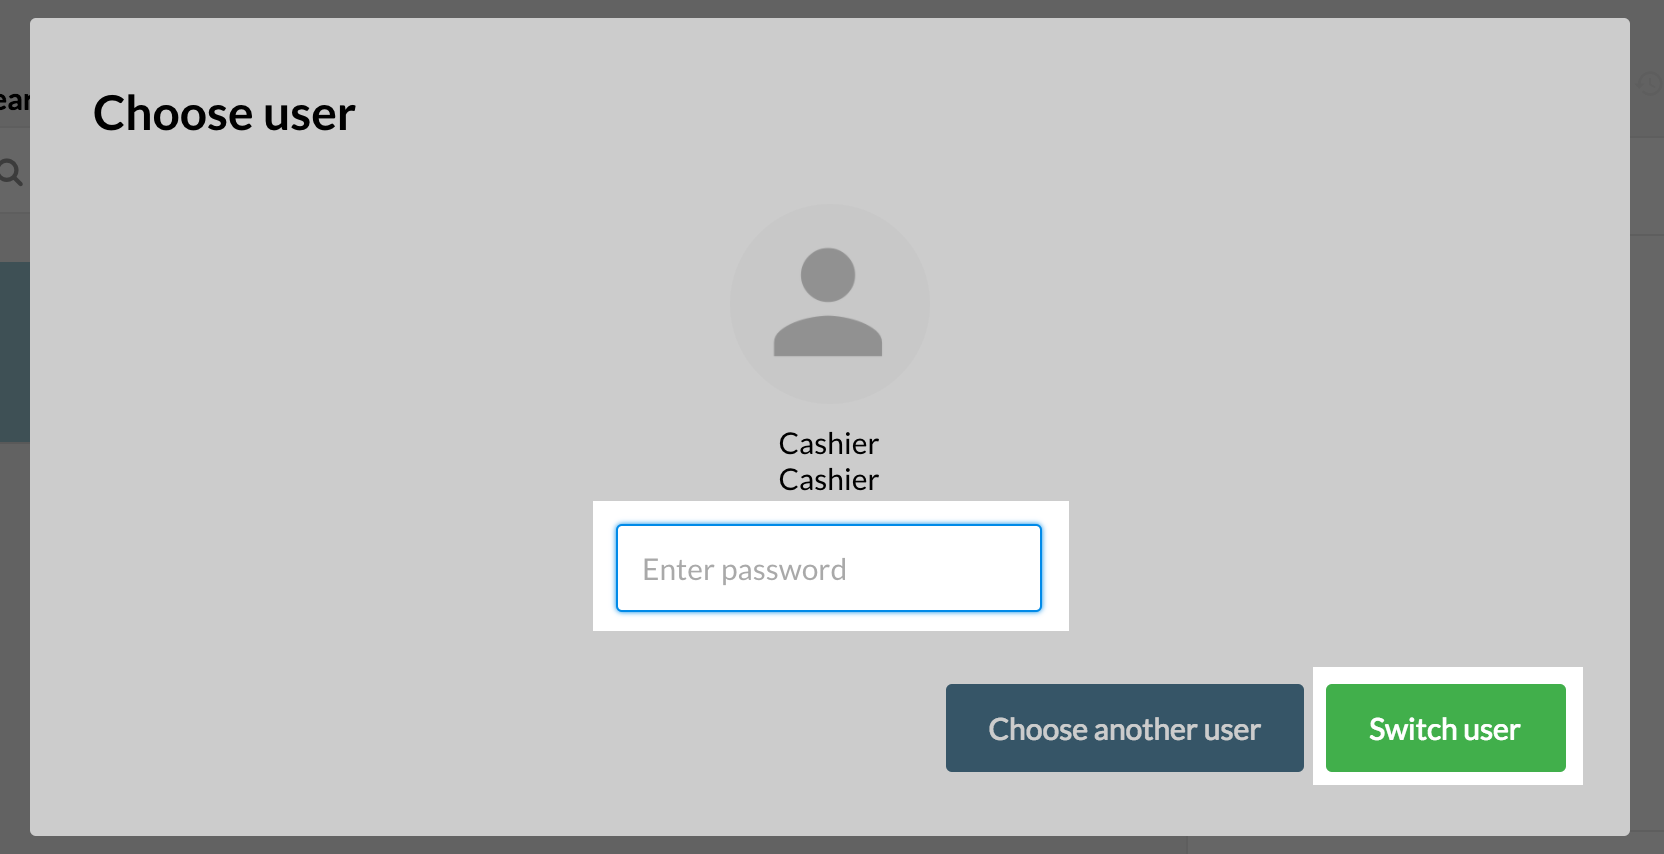
Note: If the user was not already signed in you may have to enter the user's password.
How do I close my register at the end of the day?
To close your register, select Open / Close from your side menu. You’ll see the new register closure screen where you can enter the counted totals for each payment type and compare it to the expected totals.
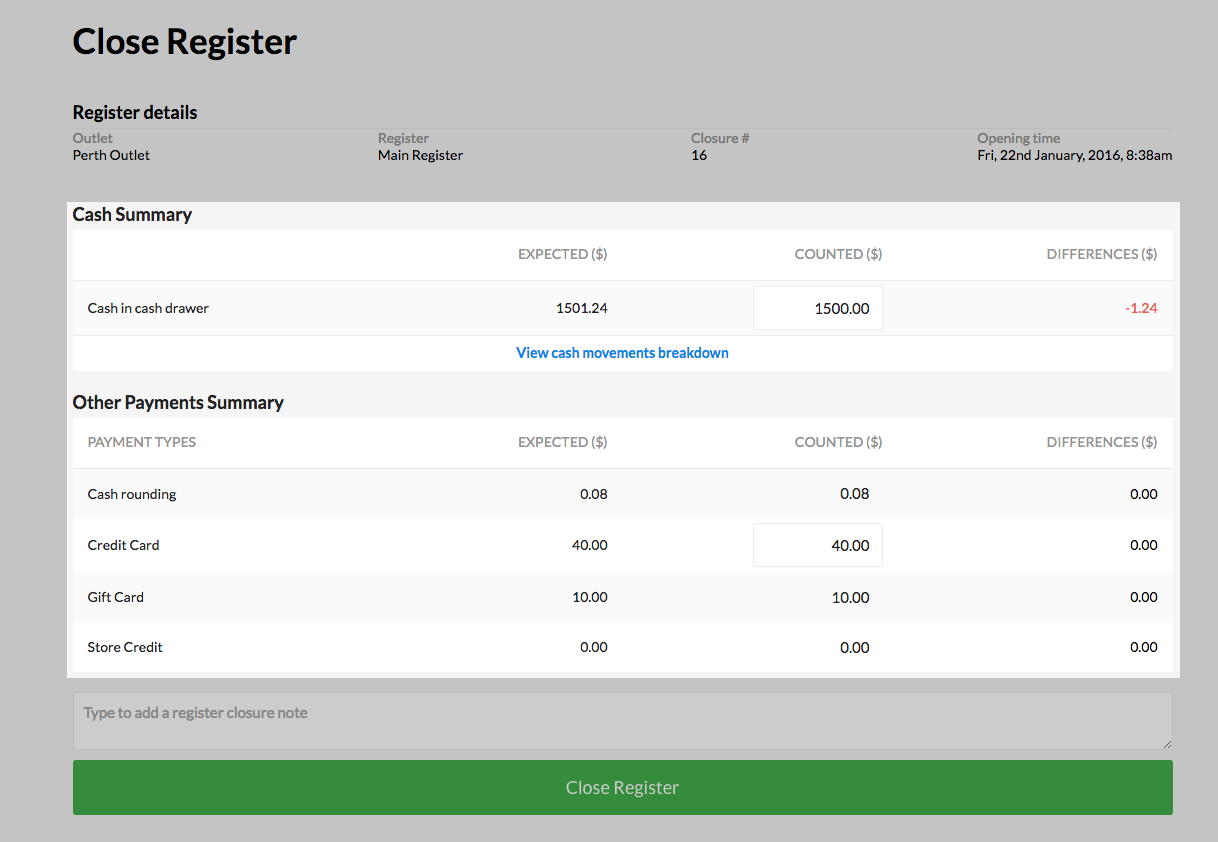
Once you have filled in the necessary fields, just click on the button that says, Close Register.

The expected values should match your counted values, but if they don’t, the difference will automatically be calculated for you to help you find the discrepancies.
How do I print my register closure?
The option to print your register closure will now appear after you select Close Register on the register closure page. This ensures that the summary report contains the most accurate information and reduces any chance of fraud.
How do I view and print my sales totals for the day?
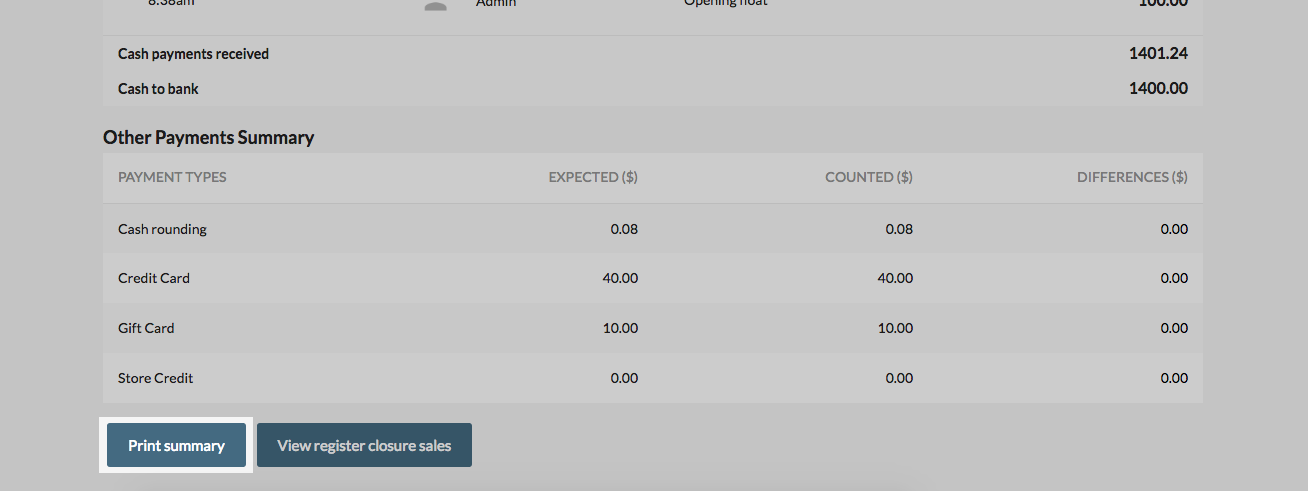
You can also view your sales totals for the day after closing your register. To do this, scroll to the bottom of the register closure page.
Once here, you can view a breakdown of the payments and sales totals for this register closure as well as any cash movements (if you have cash management enabled). You can also print this screen by clicking CTRL - P on a Windows computer or Command - P on a Mac.
How do I set up cash management?
To set up cash management, you will need to navigate to Setup -> Outlets & Registers and enable Cash Management on a per register basis.
How do I set up cash rounding?
To set up cash rounding, navigate to Setup -> Payment Types and find your cash payment type. To activate cash rounding, you will need to edit this cash payment type. To do this, click the 'pen' icon next to the payment type and specify the "round to" amount and the "rounding rule".
How do I enable gift cards?
Certain pricing plans give you access to Vend's gift card feature. You can enable gift cards by heading to Setup -> Gift Cards and clicking the switch next to Enable Gift Cards so that it displays a green tick.
How do I switch outlets or registers?
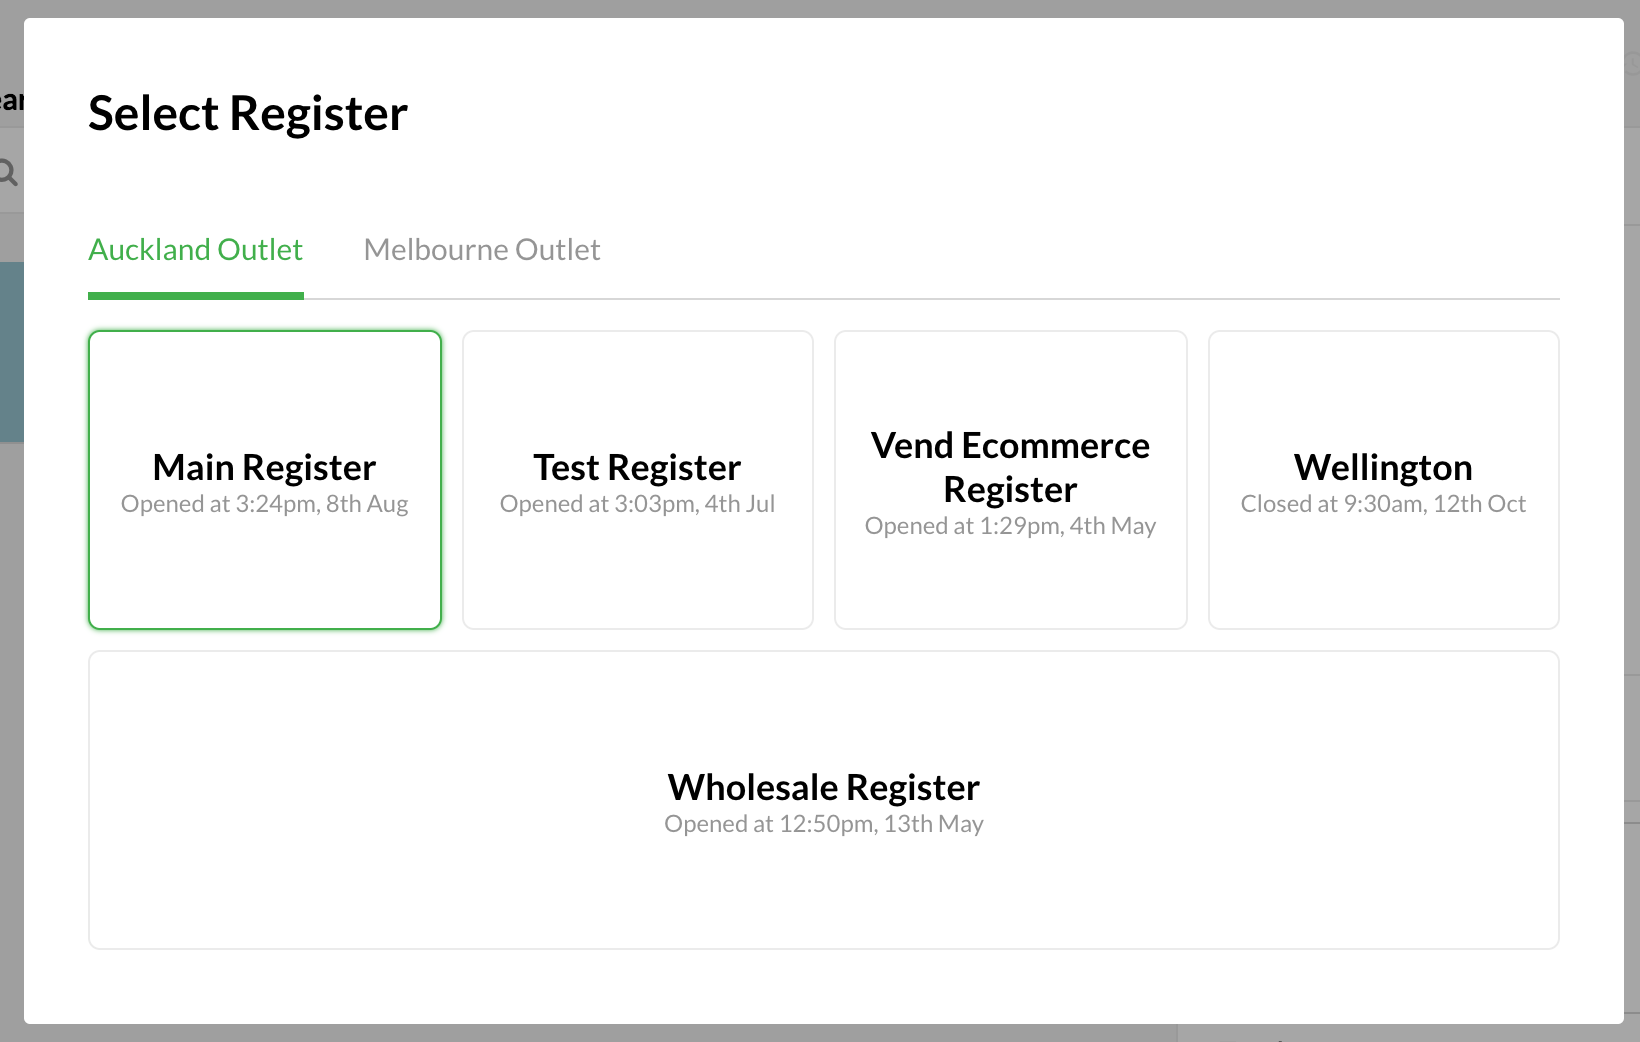
To switch to a different register on the Vend sell screen, click on the register/outlet name in the top left of the sell screen and click Switch Register.
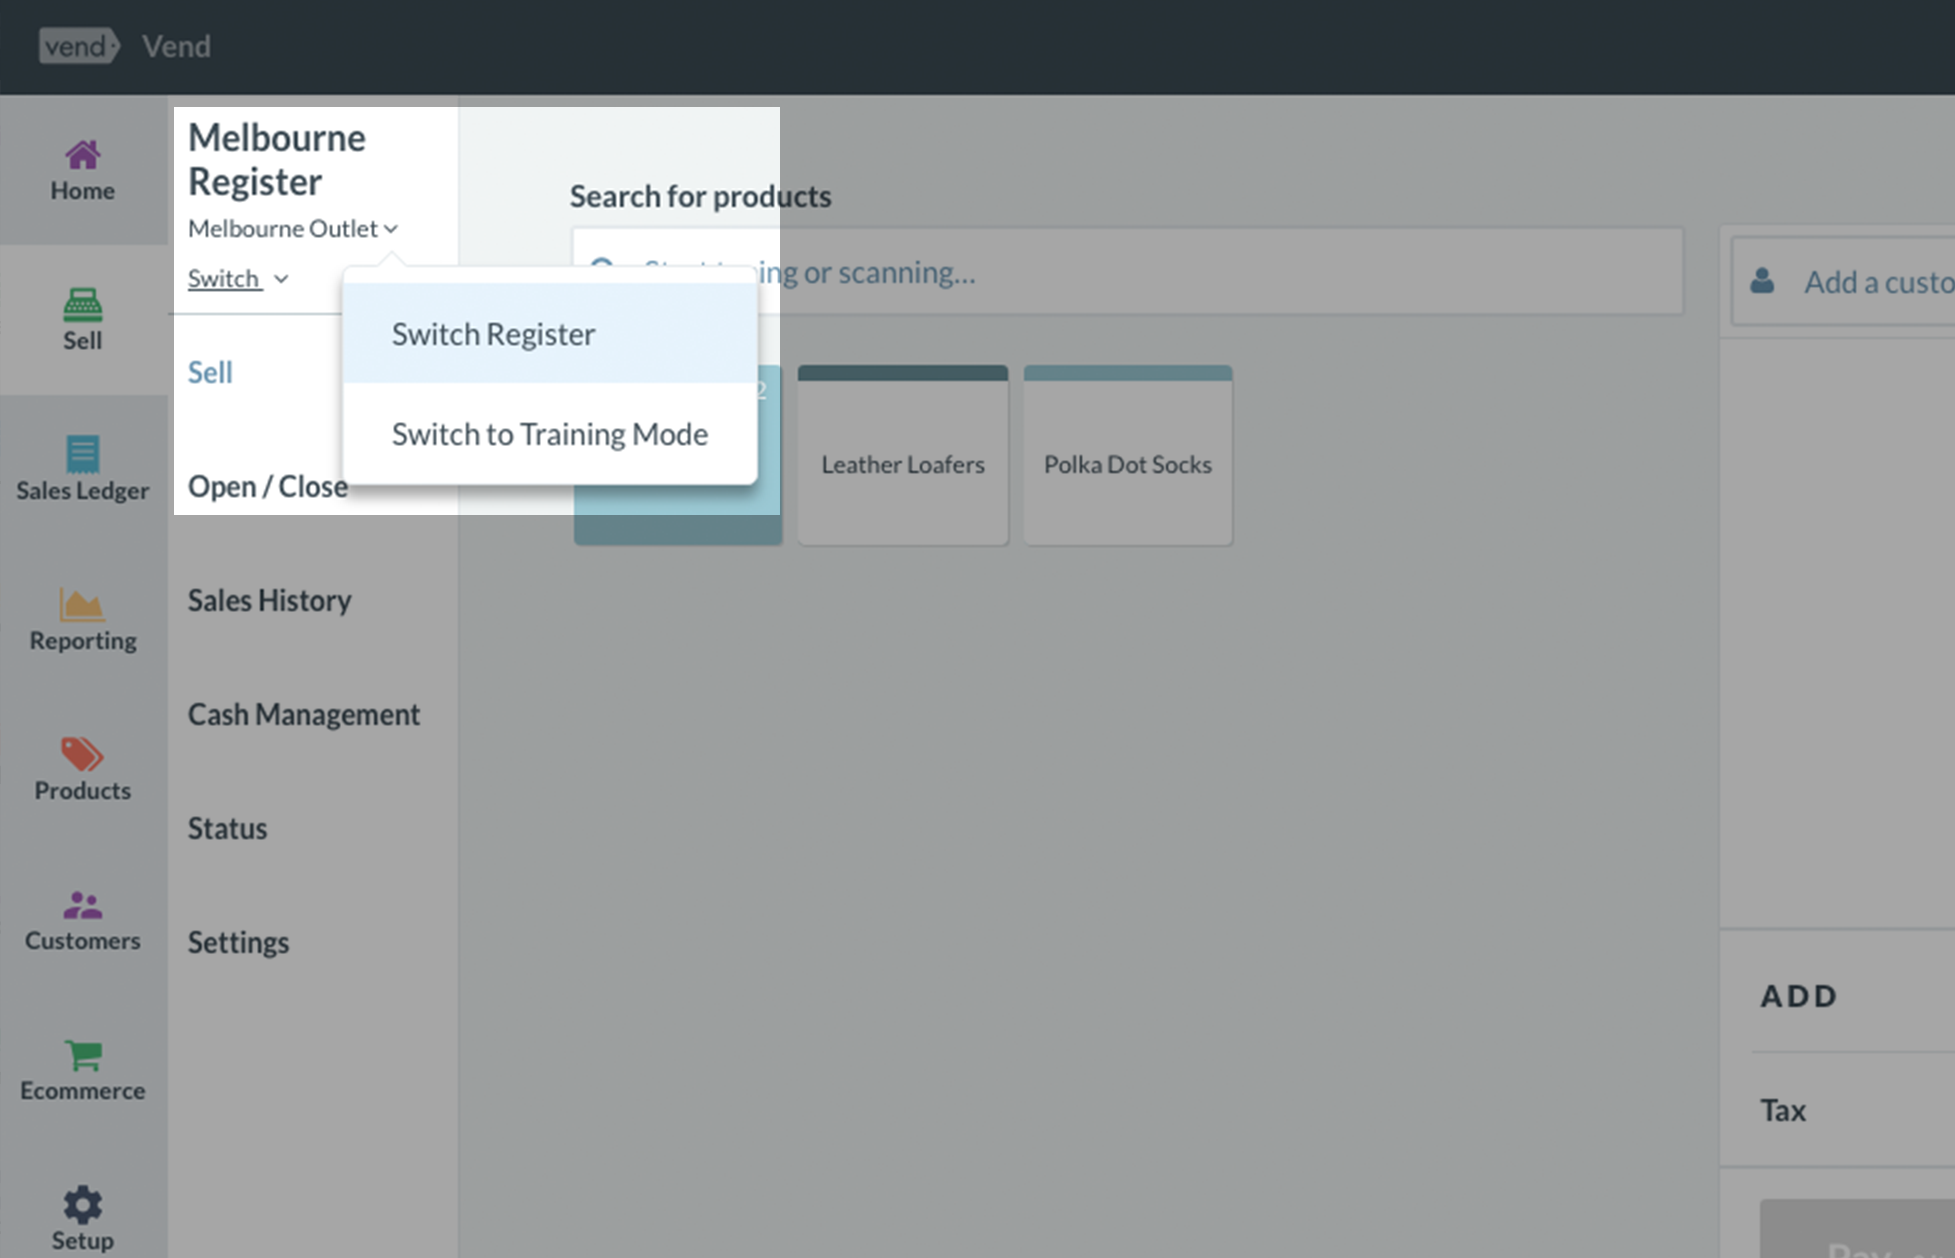
Once you've done this, you can view your outlets and registers and choose which register to switch to:
What do I do if I've retrieved the wrong layby or on account sale?
Once you have retrieved an existing Layby or On Account sale, you will not be able to void the sale or remove any of the products involved. You can, however, clear this layby or on account sale from the sell screen if you retrieved it by accident. To do this, click on the "Balance" or "Pay" button and then select either Layby or On Account from the payment screen (make sure you don't pick On Account for a layby sale or Layby for On Account sale). Once this is done the Layby or On Account will be placed back onto its original record.
What happened to sales history and where do I find my open sales?
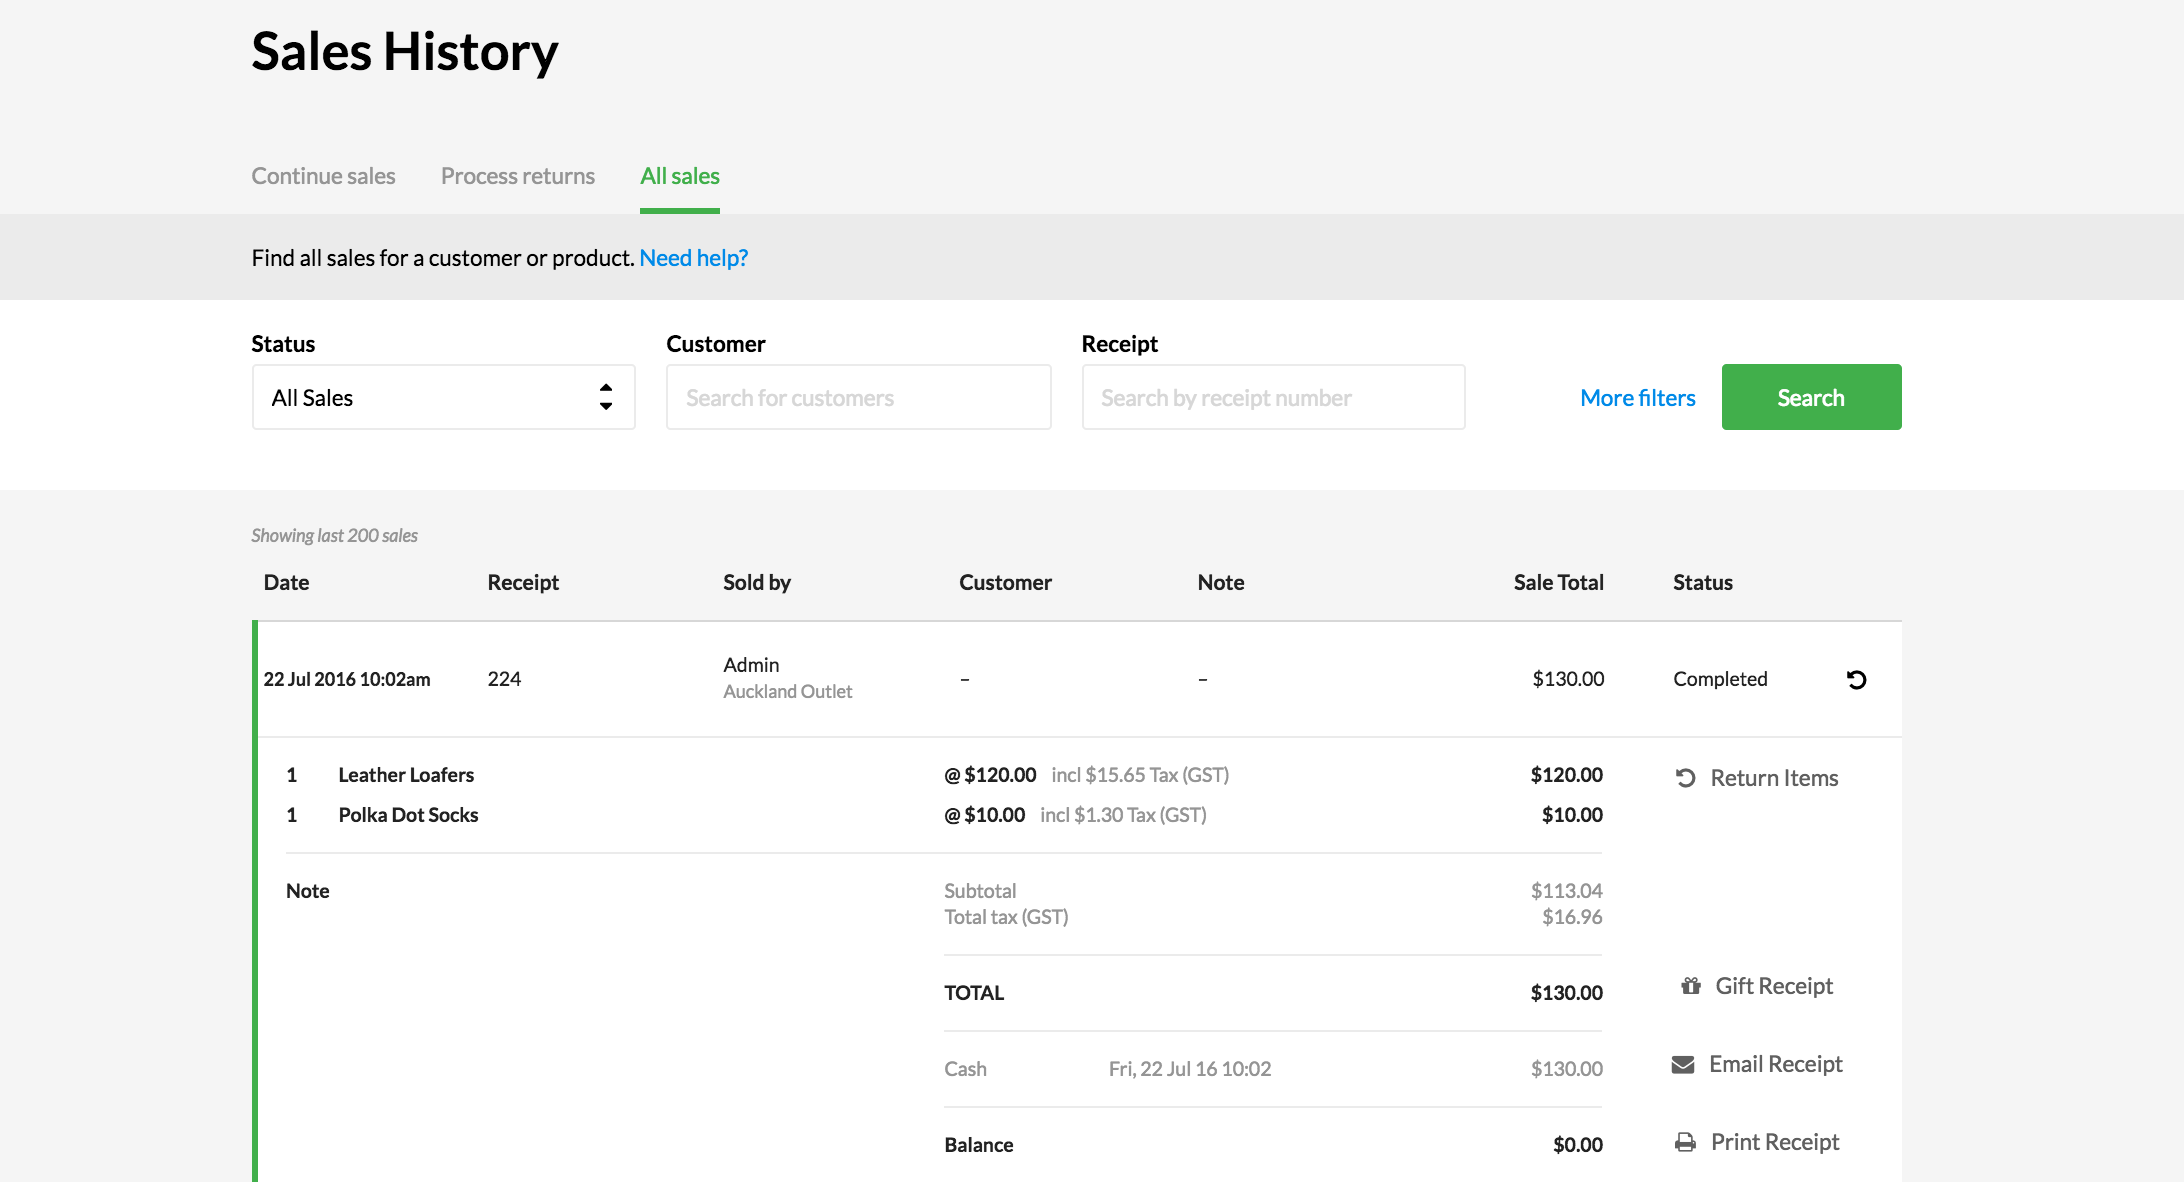
The Sales History screen which is located in the Sell section of the left menu, allows you to do daily sales activities such as the following:
- View all sales
- Process return
- Continue On Account, Layby, and parked sales
- View, email or reprint receipts
Within the Sales History, there are three top tabs; ‘Continue sales’, ‘Process Returns’ and ‘All sales’. ‘Continue sales’ contains a filtered list of your parked, layby and on account sales. The Process returns tab contains all sales that have been completed and are valid to return. In the ‘All sales’ tab, you will see an unfiltered view of all open and completed sales.
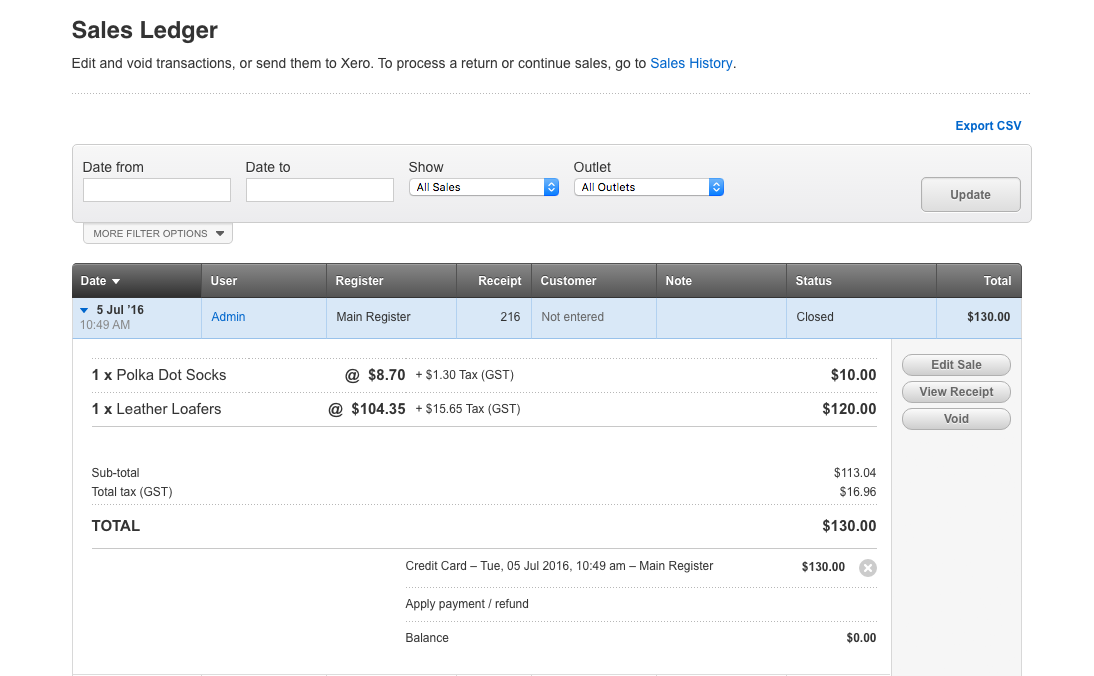
You will also find a Sales Ledger option in the main left menu which will allow you to do back office and administrative functions such as:
- Edit a closed sale
- Void a sale
- View and reprint receipts from a different template
- Check the status of an On Account sale in Xero
- View sales in Shopify
How do I apply discounts to a single item?
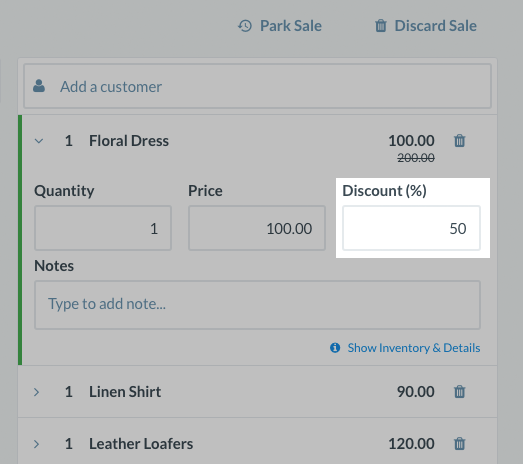
Discounts can be applied to an entire sale or individual line items. To discount a single line item, click on the item once you’ve added it to your sale and you’ll see an expanded view. In the expanded view, you can adjust the quantity, price, or discount amount for that item.
Where are the tabs for Quick Keys?
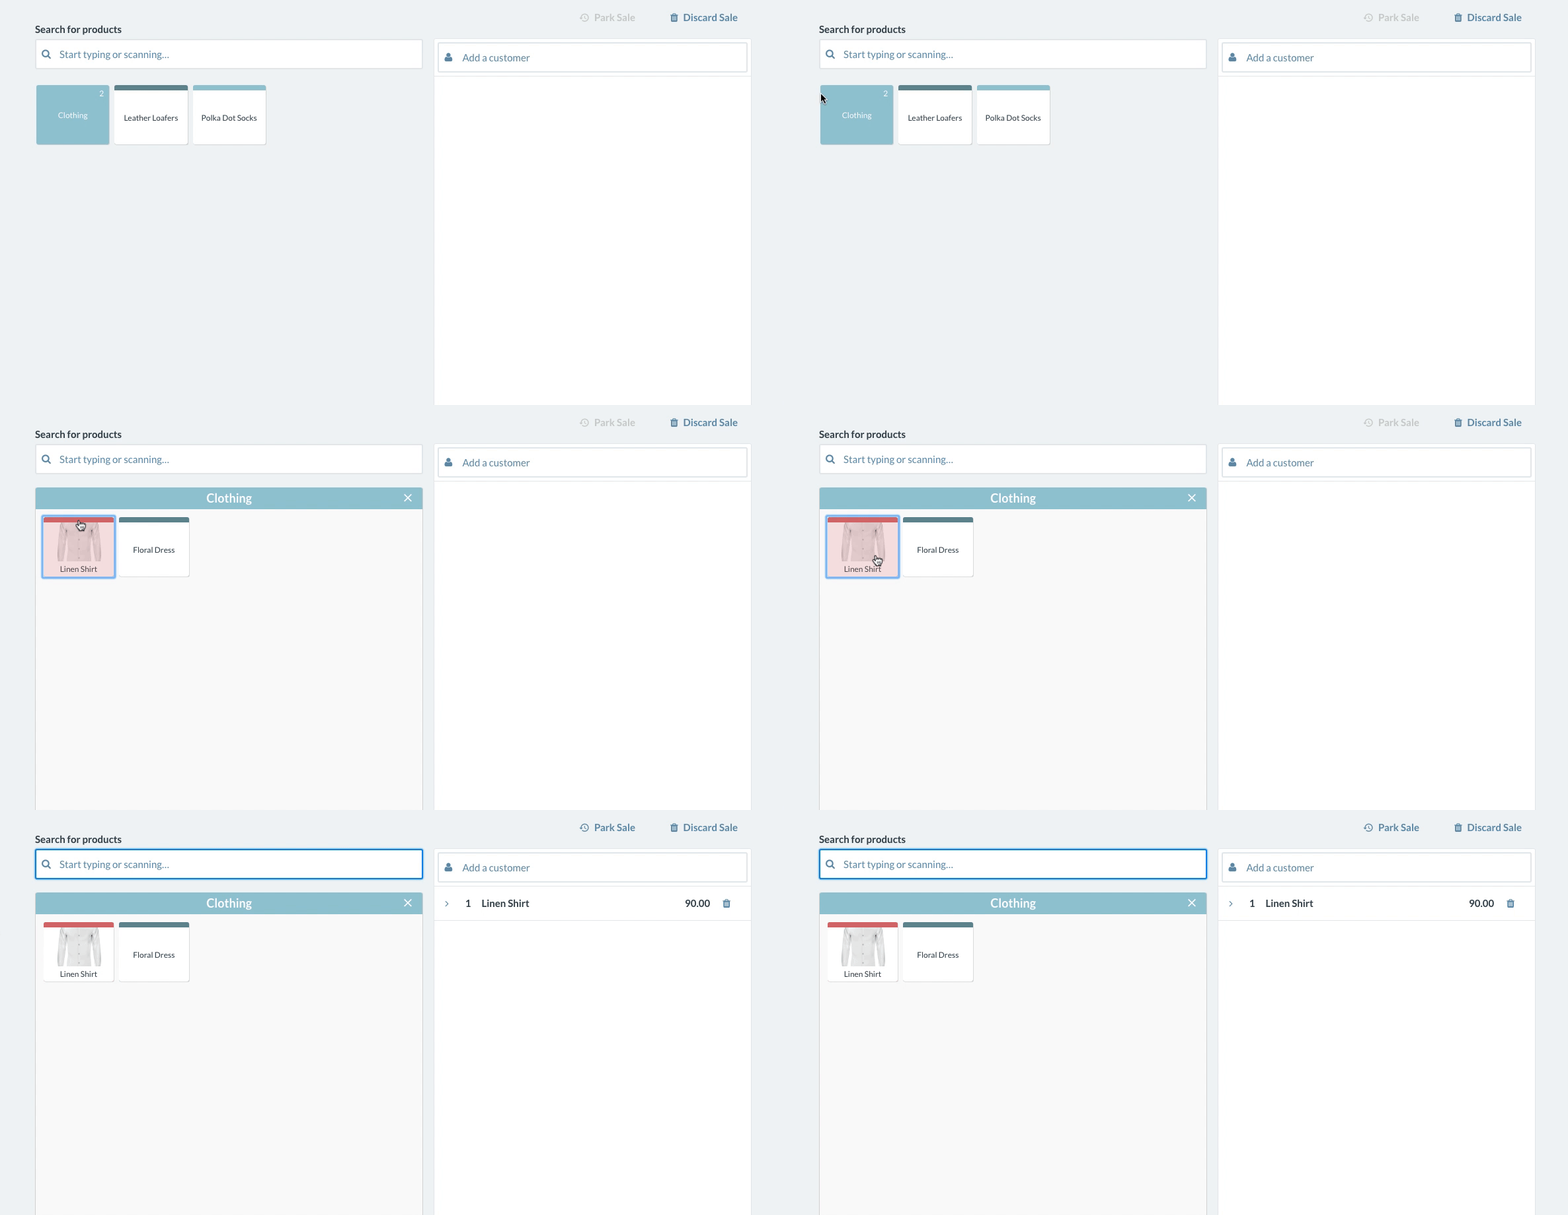
If you previously had multiple tabs for your Quick Keys, they have been converted into folders. When you select a folder, you will see all the Quick Keys that were once under a tab. Unlike tabs, these folders do not restrict you to a limited amount of quick keys.
Can I add a variant as a Quick Key?
Yes, you can! To add an individual variant as a single quick key all you need to do is edit your quick key template under Sell -> Settings and add the variant product using the search box.
How do I choose whether a Quick Key folder opens or closes until the end of a sale?
When adding a new quick keys layout or editing an existing one, tick or untick the box beneath "Quick Key Behaviour" to choose whether a quick key folder remains open until the end of the sale.

Why can I no longer select On Account or Loyalty as a payment option for a return or negative sale?
Store credit will allow you to offer store credit rather than a cash refund and keep your customers coming back. Customers with store credit can redeem their balance any time they are in your store, and you will no longer have to use workarounds or do messy reconciliations.
You can check out a video tour of the sell screen here!
Related Articles
Receipt Templates for the Vend Register iPad App
Receipt Template Sync for Vend Register on iPad What do I need to know if: I also use Vend on my Computer or used to use the old iPad app I've only ever used Vend Register How do I? Set up and edit my receipt template Create a new receipt template ...How to rectify Xero when Vend register is closed or opened with the wrong amount
Sometimes there may a mistake when entering the opening float and closing float while opening/ closing your Vend register. In this example, you can see that the user did not enter the AED 95 which was recieved through a sale made while closing the ...Re-sending the Register Closure report to Xero
To resend the reports, Void the invoice in Xero. Void Xero invoice: Open invoice in Xero Remove all payments from the invoice, click on the Payment > Options > Remove and Redo Click Invoice options > Void Resend the Vend register closure: Open Vend ...What is a Register Closure?
Register Closures are a basic part of retail that allow you to physically check your cash and credit totals against their recorded totals in Vend. A register is opened when you first go to your Vend sell screen, and it checks the date and time on ...Vend Integration Guide
Important notice These details are accurate at the time of writing this Help file. However, from time to time Vend may make further changes that are unknown to Unleashed.When importing products from Vend, Unleashed will also pull across Stock On ...
